My Fireworks Tree

My Fireworks Tree

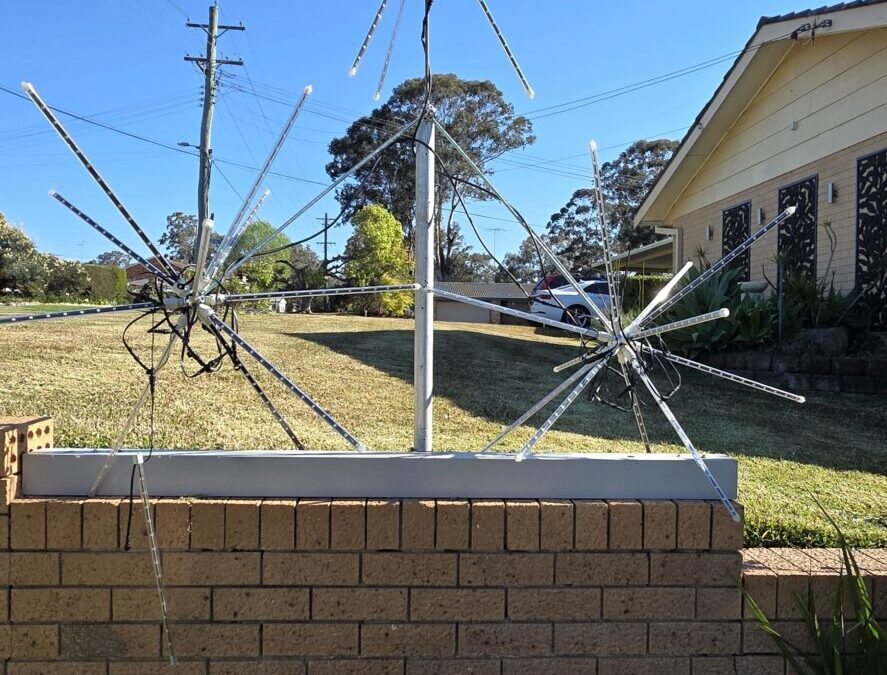
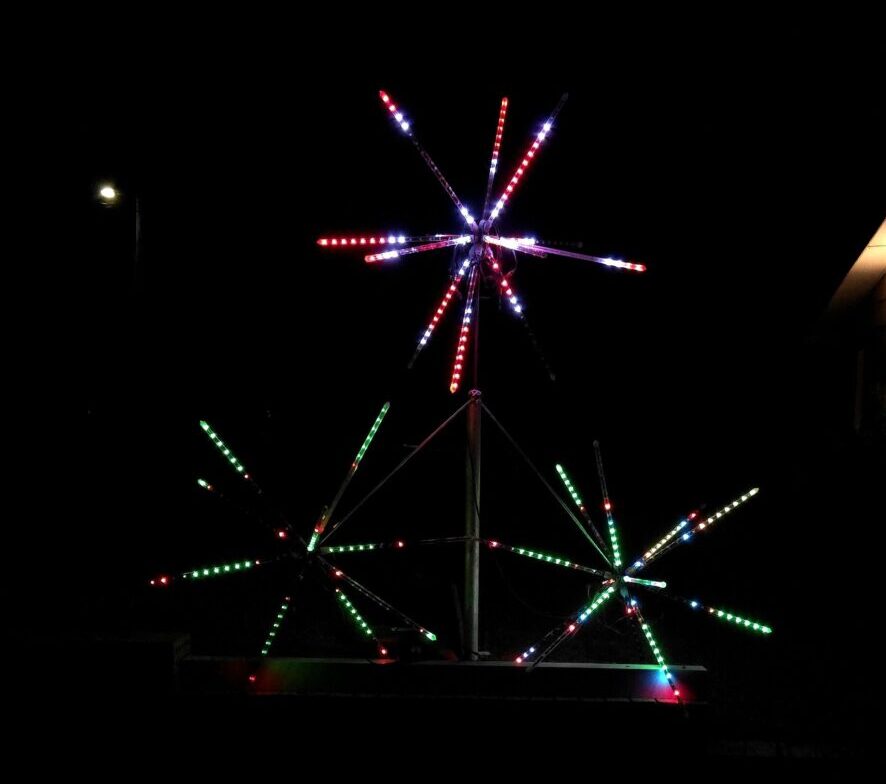
The Fireworks Tree, three LED spheres mounted on a trunk, in the front yard

The Designing:

This year I wanted to add something new to the display — a Fireworks Tree. The idea is simple: build three spheres out of radiating LED arms, mount them on a trunk like the branches of a tree, and sequence them so all three burst outward together, just like a real firework going off.


Each sphere starts as a steel ball connector with 26 threaded holes, though I’m only using 12 of them. Three go around the top, 120° apart and angled 45° up from vertical. Three go around the bottom the same way, angled down. The other six run around the equator, 60° apart. That gives each ball 12 evenly spaced points to radiate from — the same pattern as a firework burst.
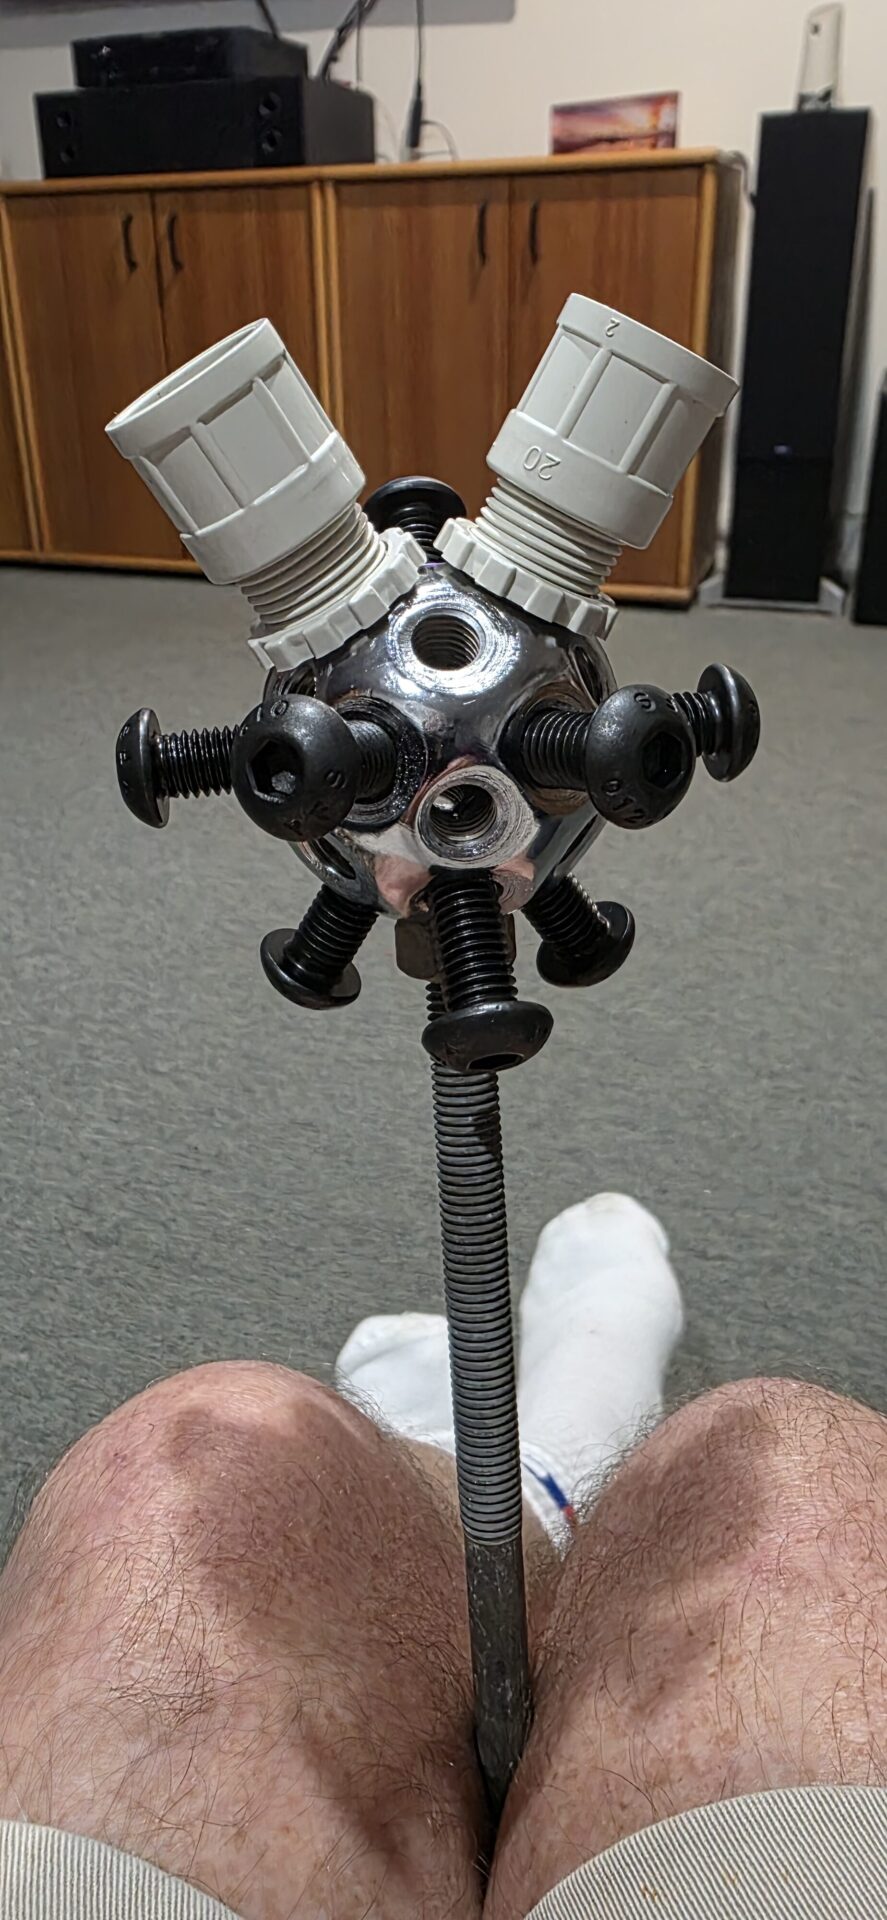
Close-up of one sphere hub, showing the M10 screws and conduit adaptors at the 12 meteor-stick positions
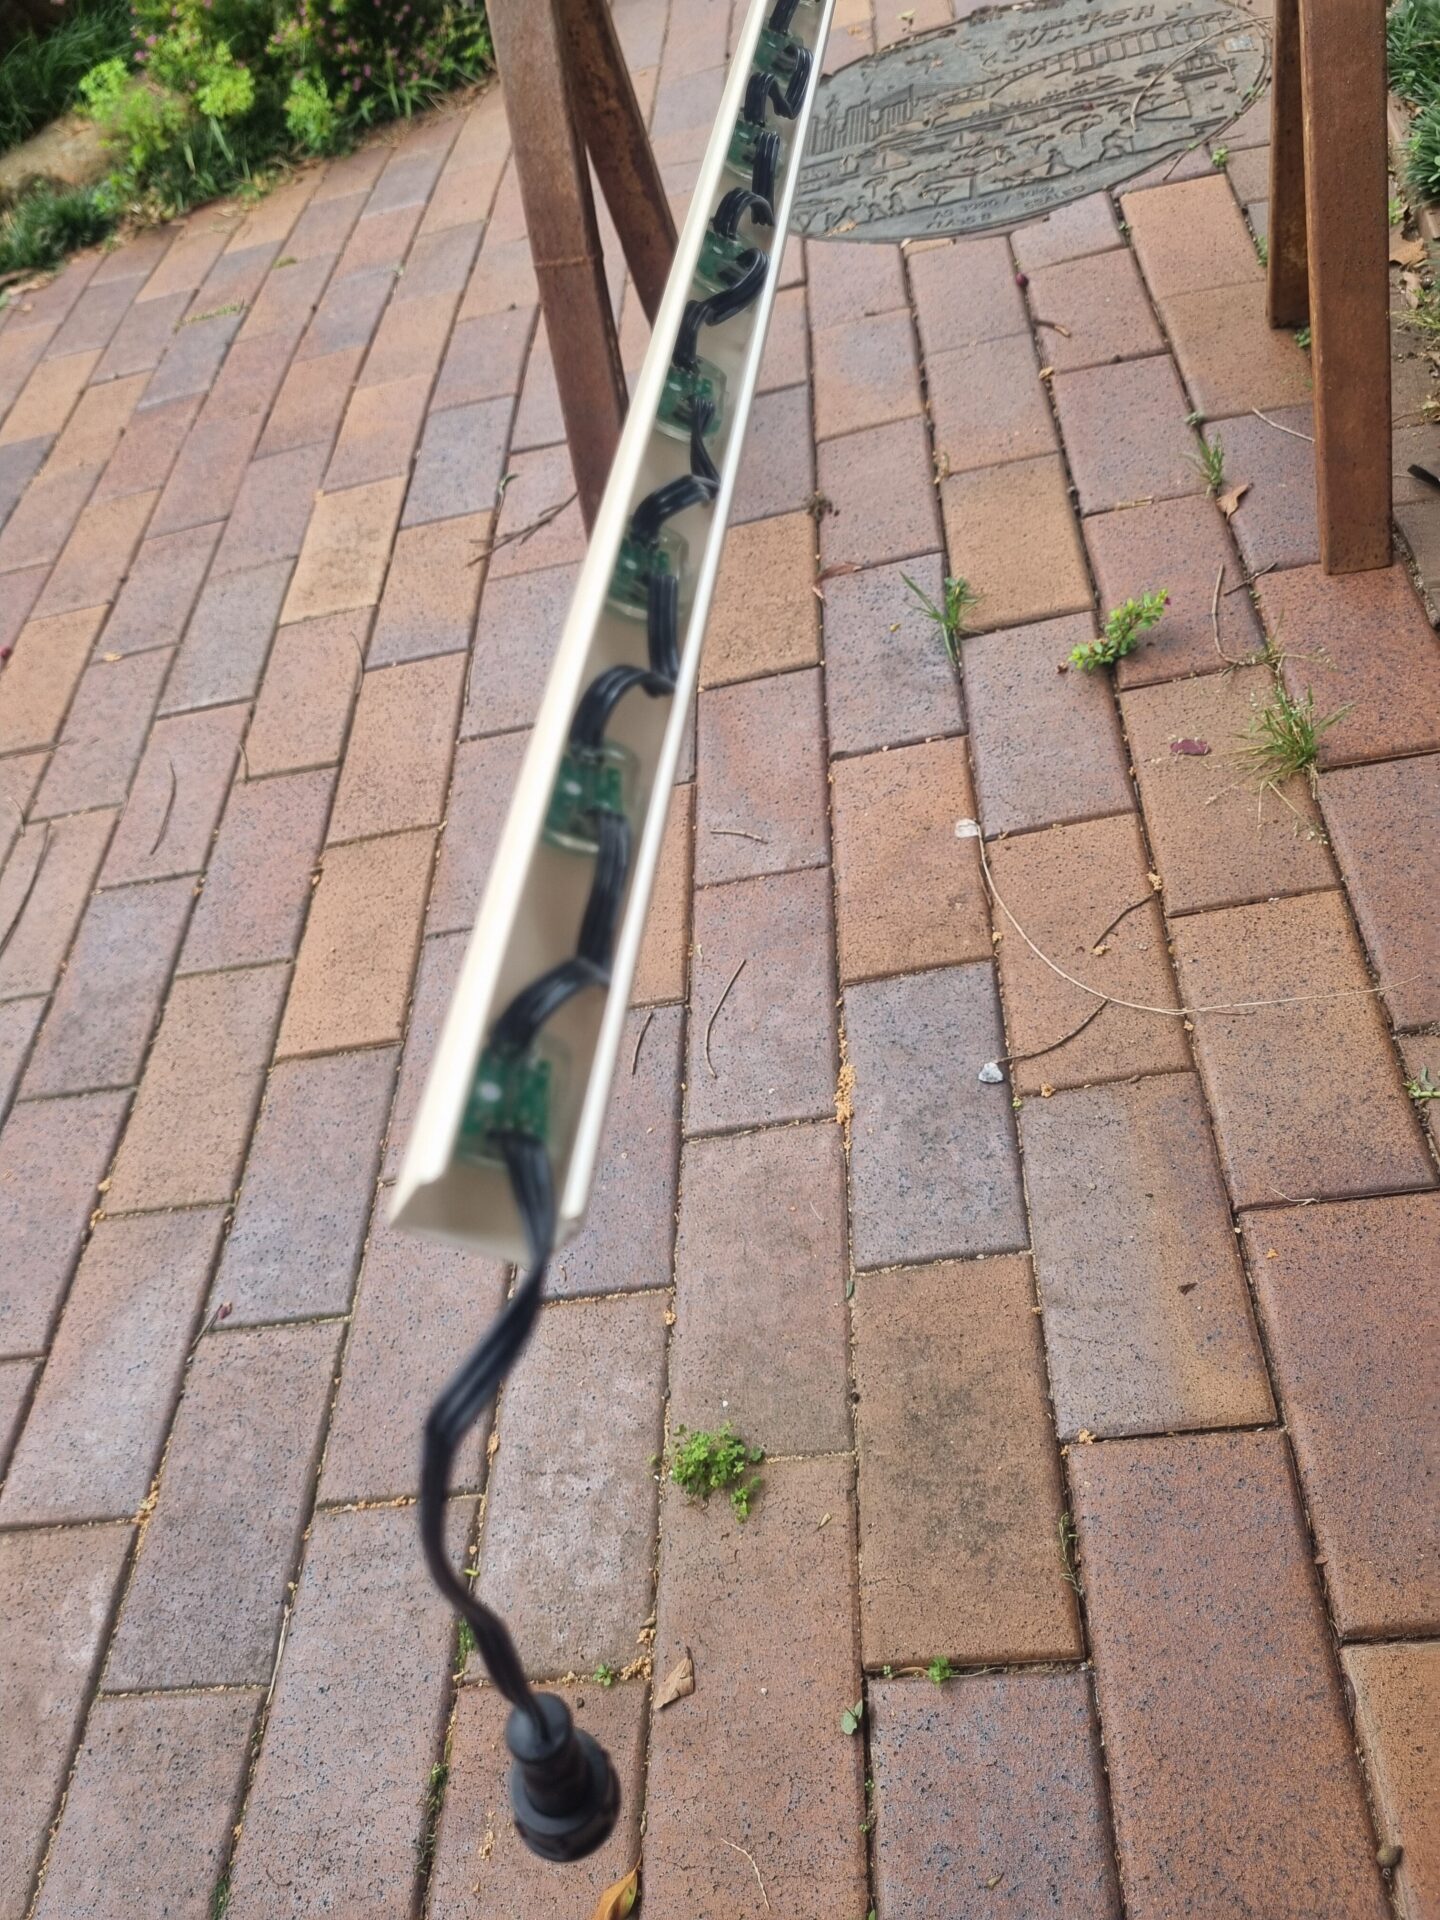
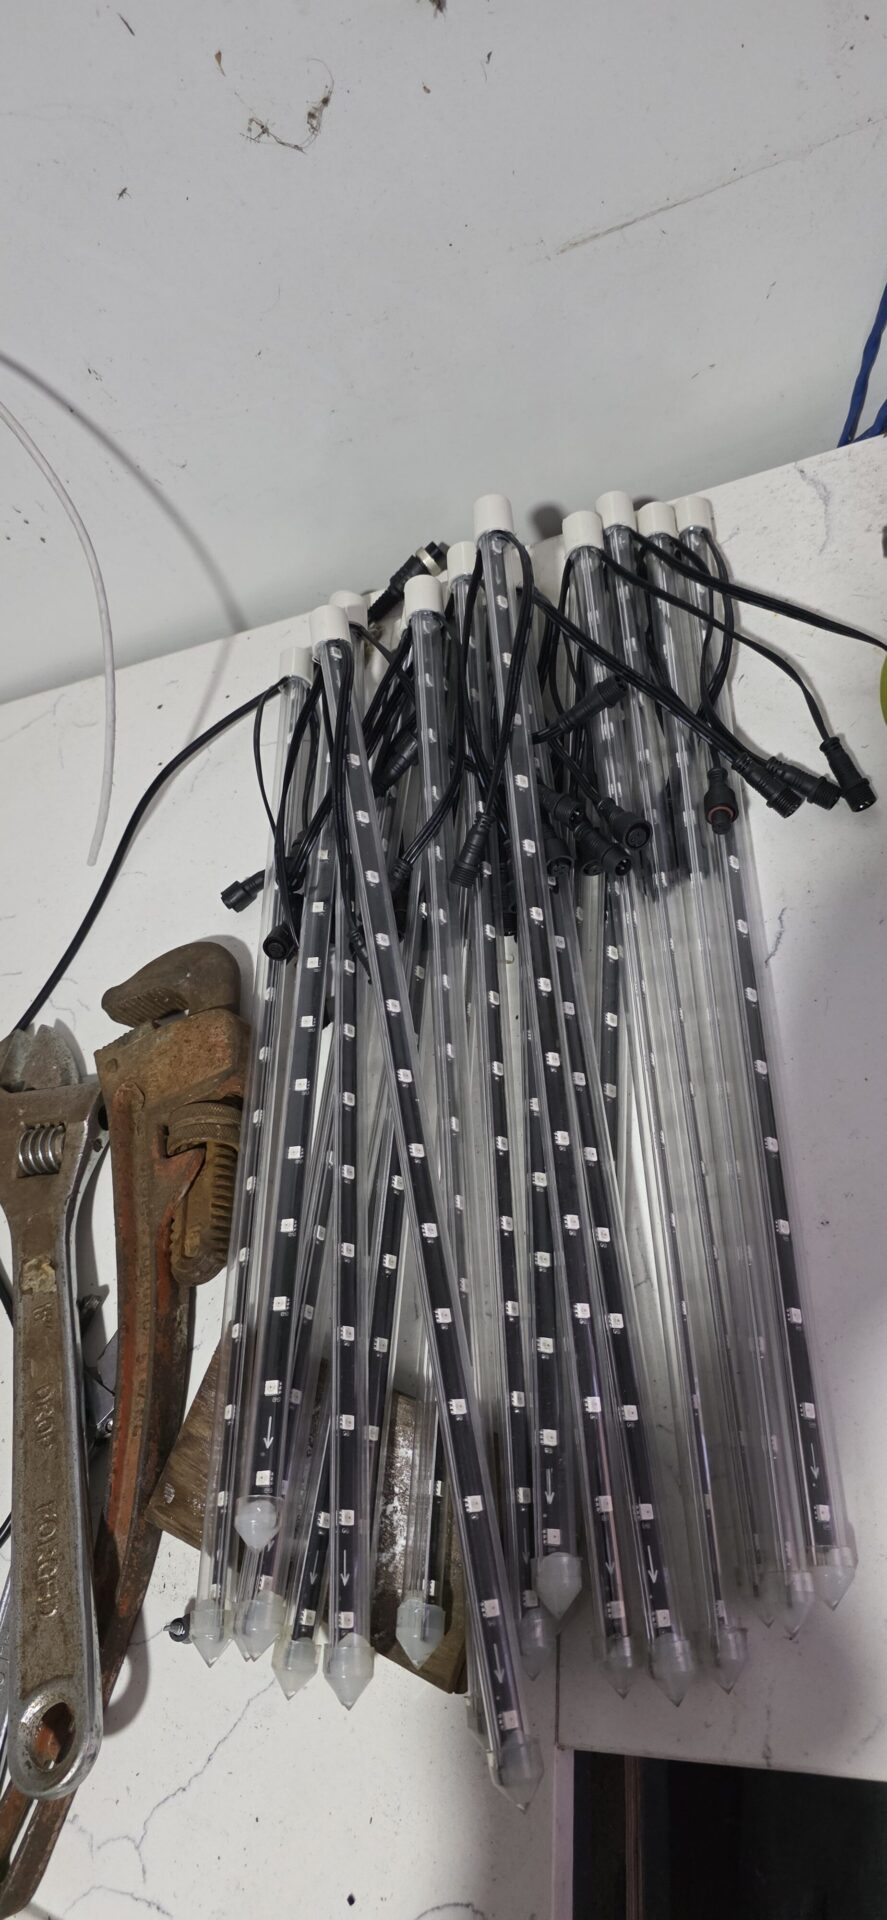
Finished meteor sticks, LED strip and tube with pigtail connectors, laid out on the bench

Manufacturing:

At each of those 12 points I bolt on a conduit adaptor with an M10 button head screw, then press-fit a 20mm-to-16mm reducer onto it. That reducer takes the 16mm tube each “meteor stick” runs through — an addressable LED strip (WS2811) manufactured as two 15-LED strips already joined and mirrored, so I get a full 30-LED stick with both ends of the wiring coming out the same end of the tube. 12 sticks per sphere, 3 spheres, 36 sticks in total.

Assemble and Controlling:

To turn the three balls into a tree, a fourth ball becomes the trunk hub. Two 1000mm lengths of M10 threaded rod run from the hub out to two of the spheres, and a 400mm rod runs along the trunk to the third. It’s a simple hub-and-rod design, and it means I can bolt on more branches the same way later if I want to grow it.

Getting it into xLights took a bit of trial and error. My first attempt at a 3D custom model used a plain coordinate list, which isn’t actually a format xLights reads — custom models always come in as a grid of node numbers, layer by layer. Once I rebuilt the file in the right format, the sphere imported properly and the spokes lined up in the 3D preview exactly as designed.

For the sequence, I grouped all three spheres together as “Firework Spheres” and gave each one 12 radial sub-models — one per spoke. With the group’s State Effect set to Radial/Center-Out and the timing pulled right down to a second or two, all three spheres burst outward together, just like a firework. A 20-pixel “fuse” string leads into each burst, timed to reach the top right as the explosion starts.

The whole sequence is driven out of xLights to my HE123 controller with differential receiver boards, which gets the signal out to the spheres. Still to finish: sourcing the fuse-string pixels. More to come once it’s fully wired in and I can get some real footage of it firing.
My Roof Outlines

My Roof Outlines

Spiral Tree

Original Outlines:

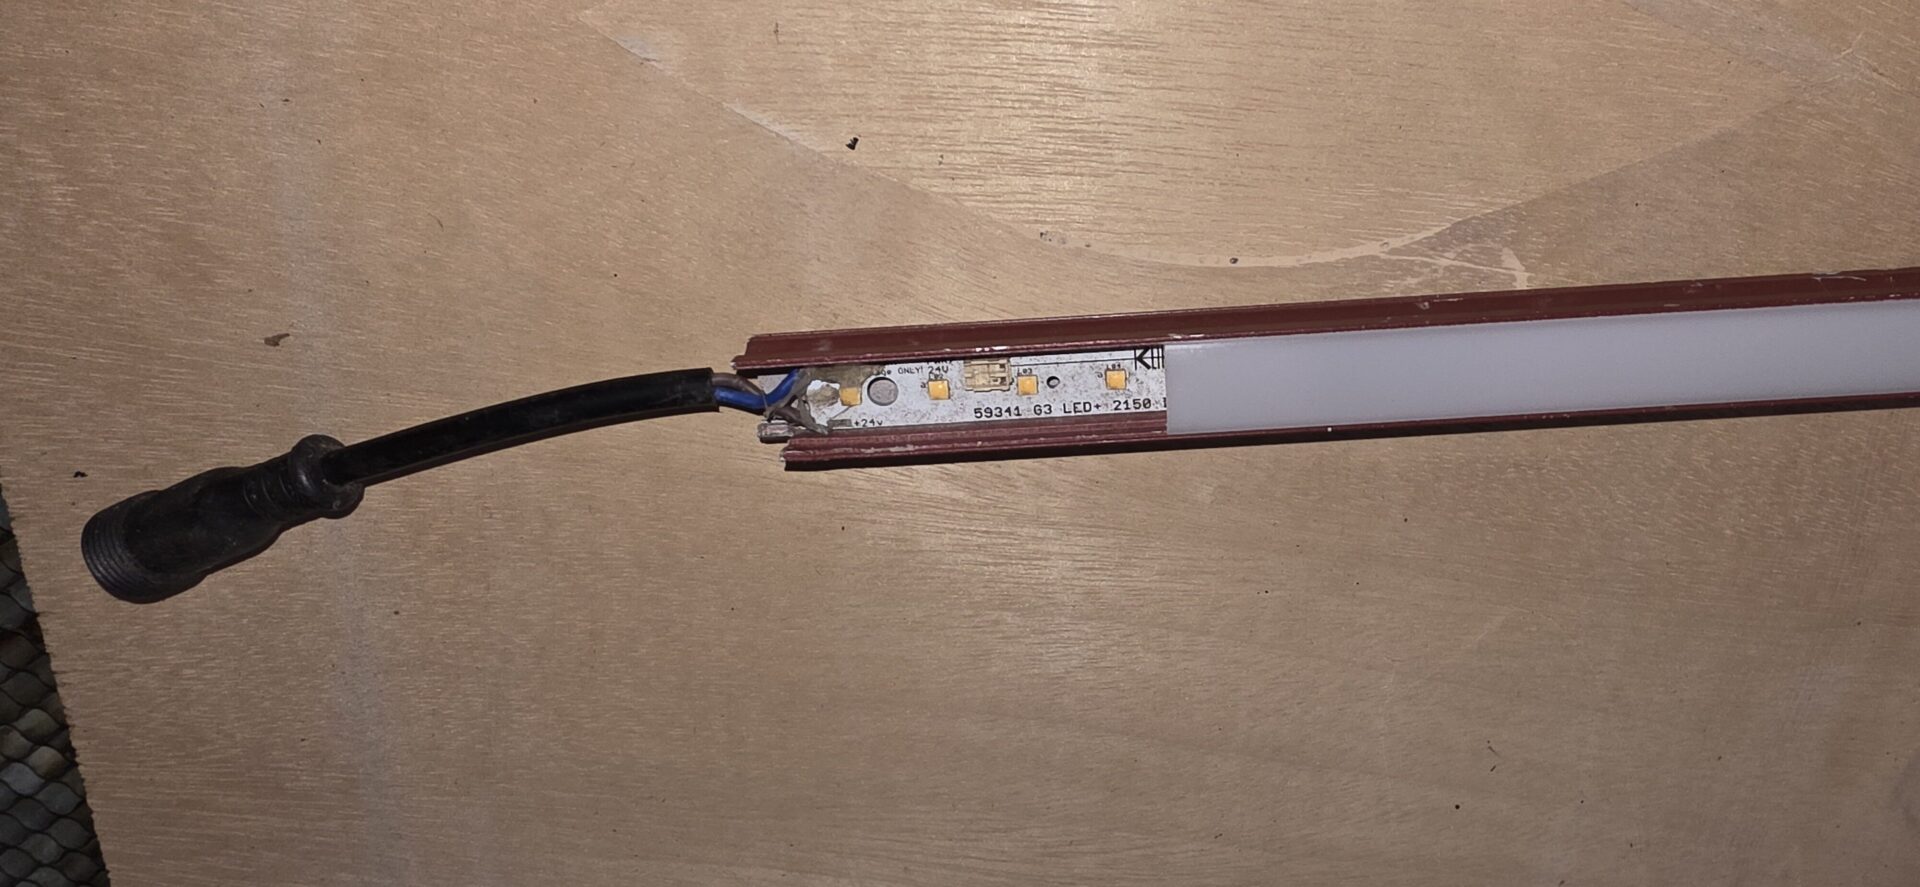
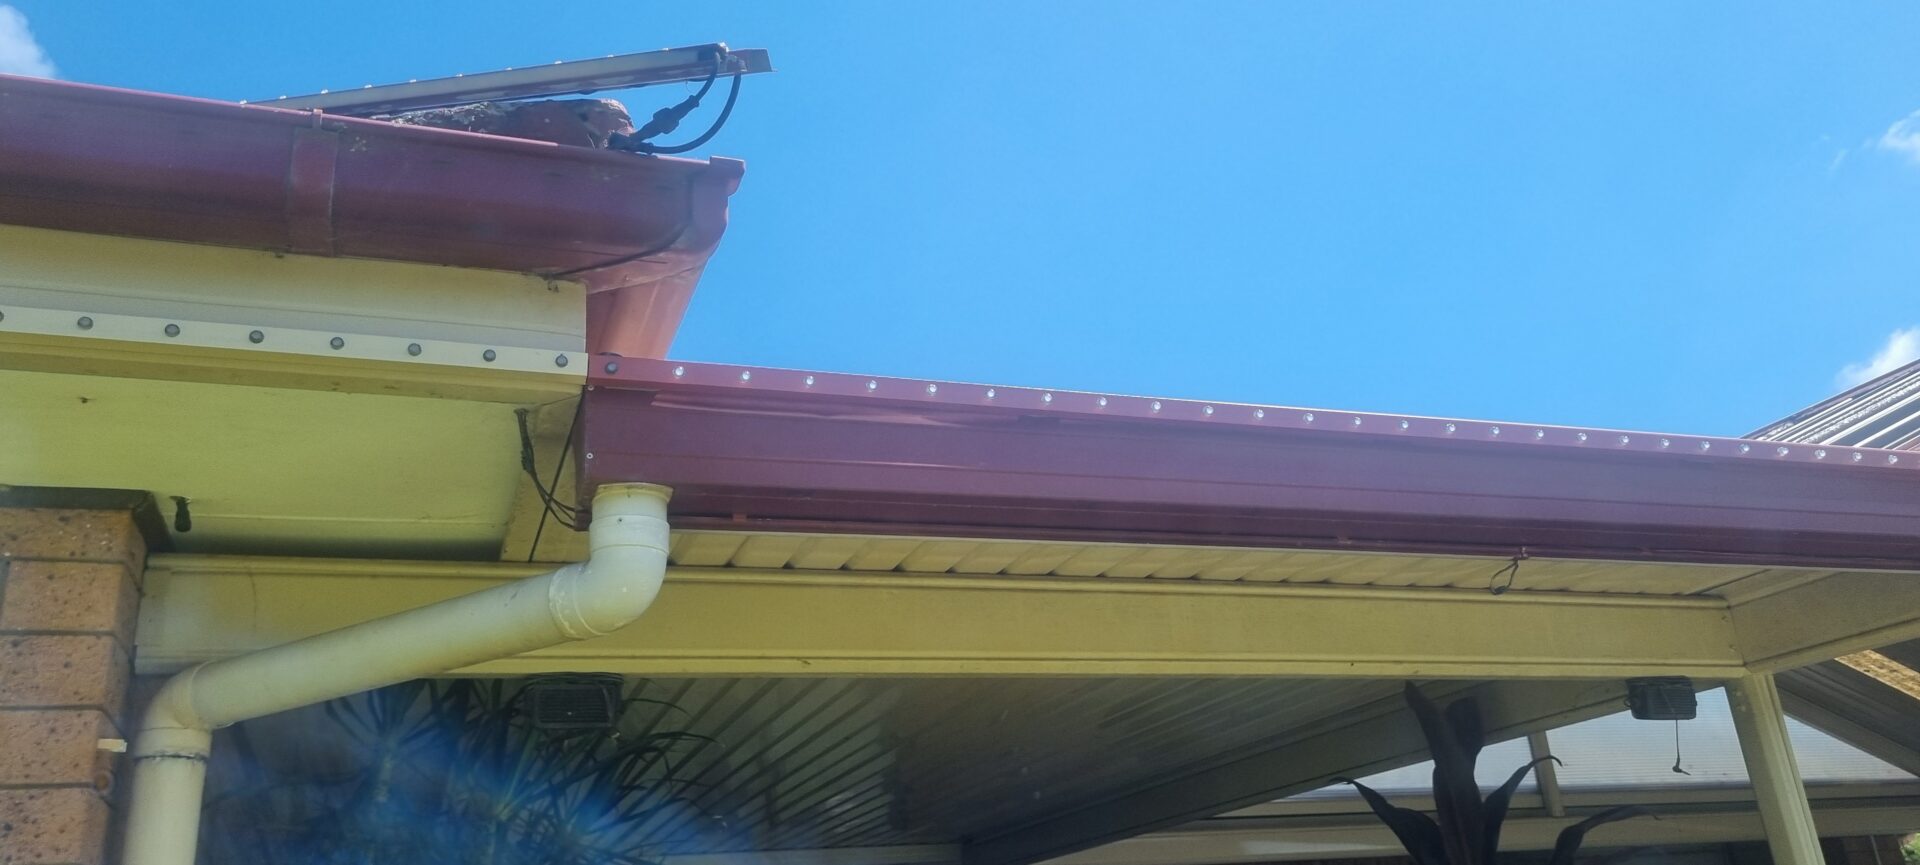
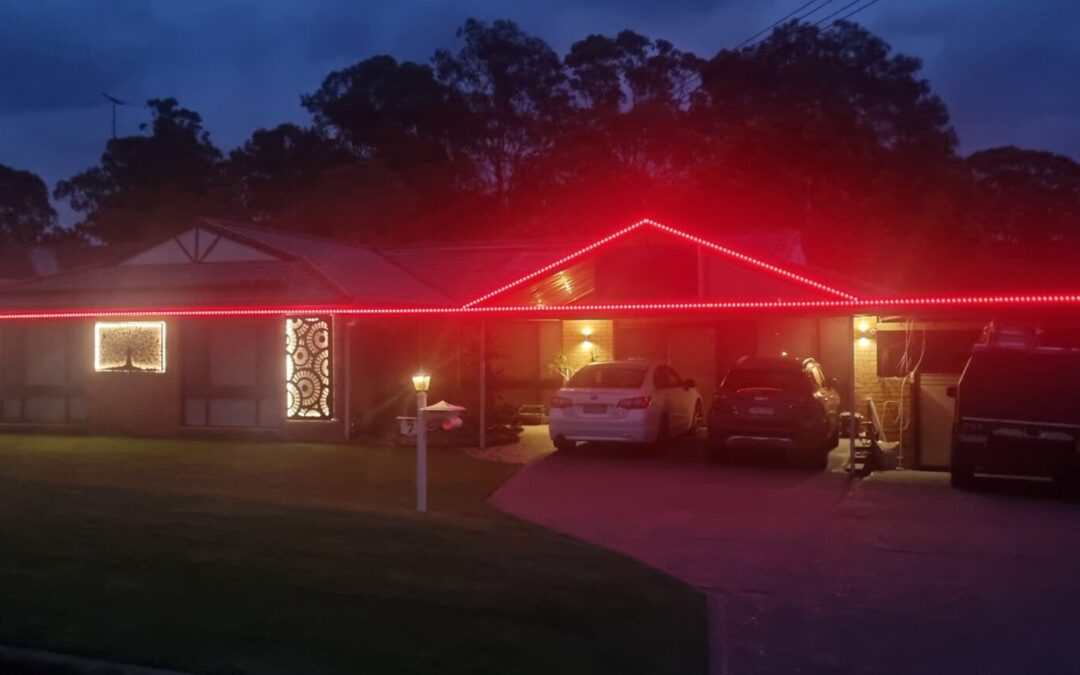
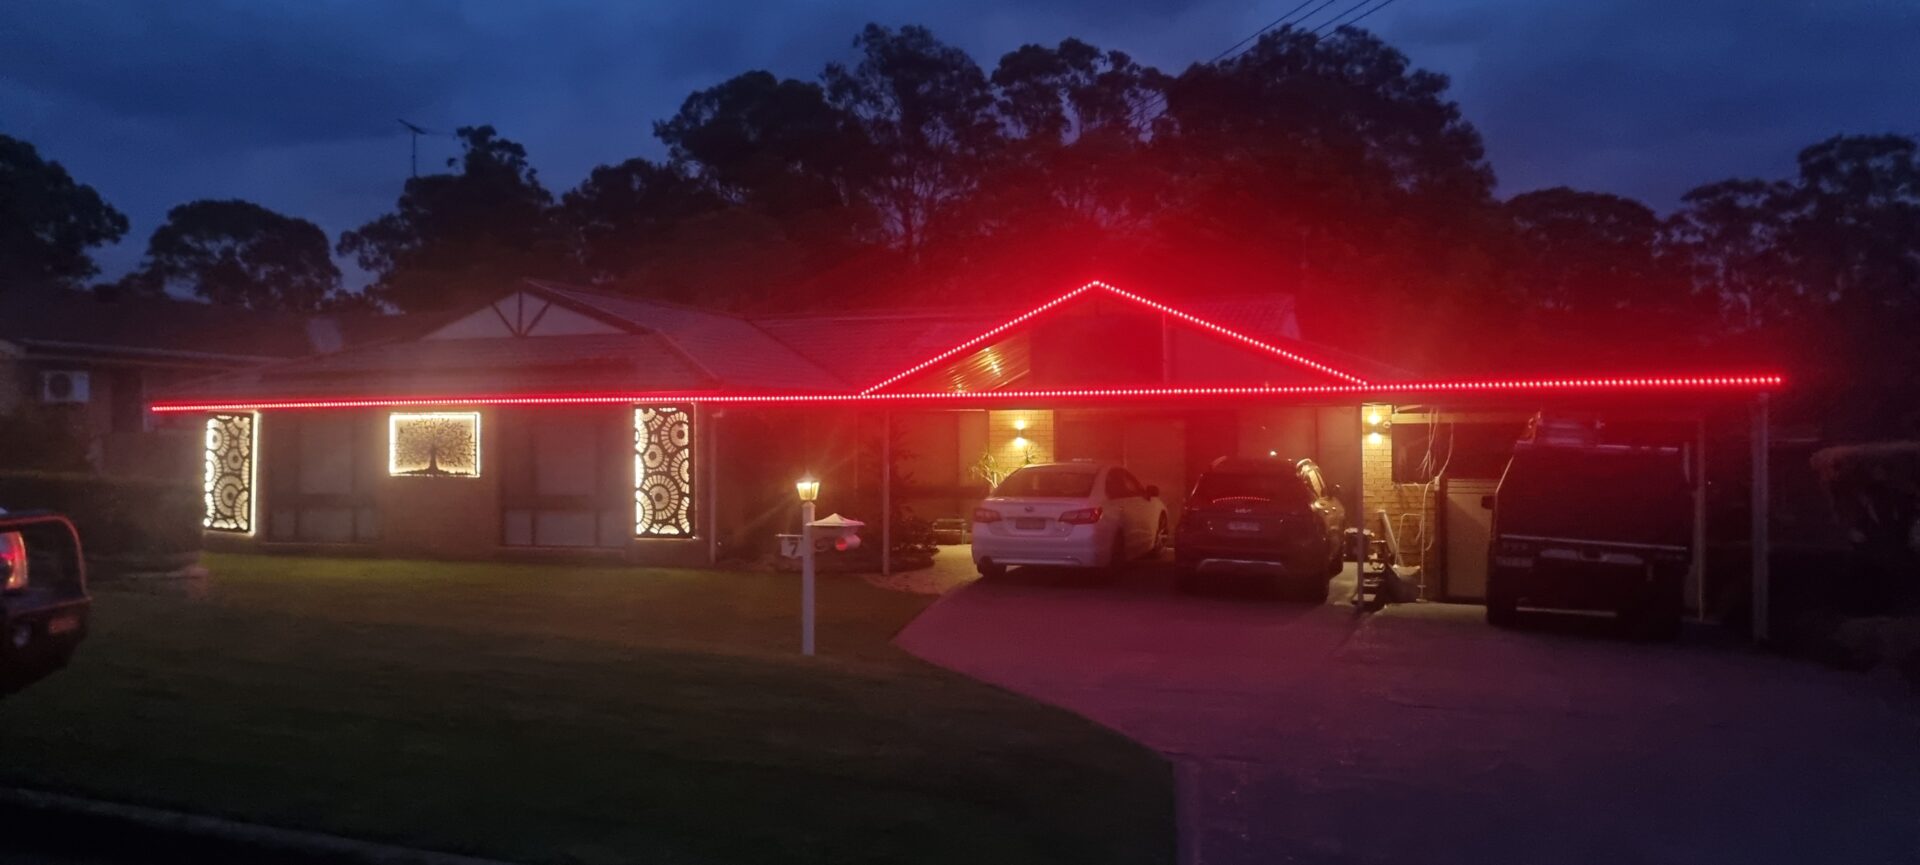
When I first did my roof outlines back in 2018, I used lengths of led strip that I had acquired.

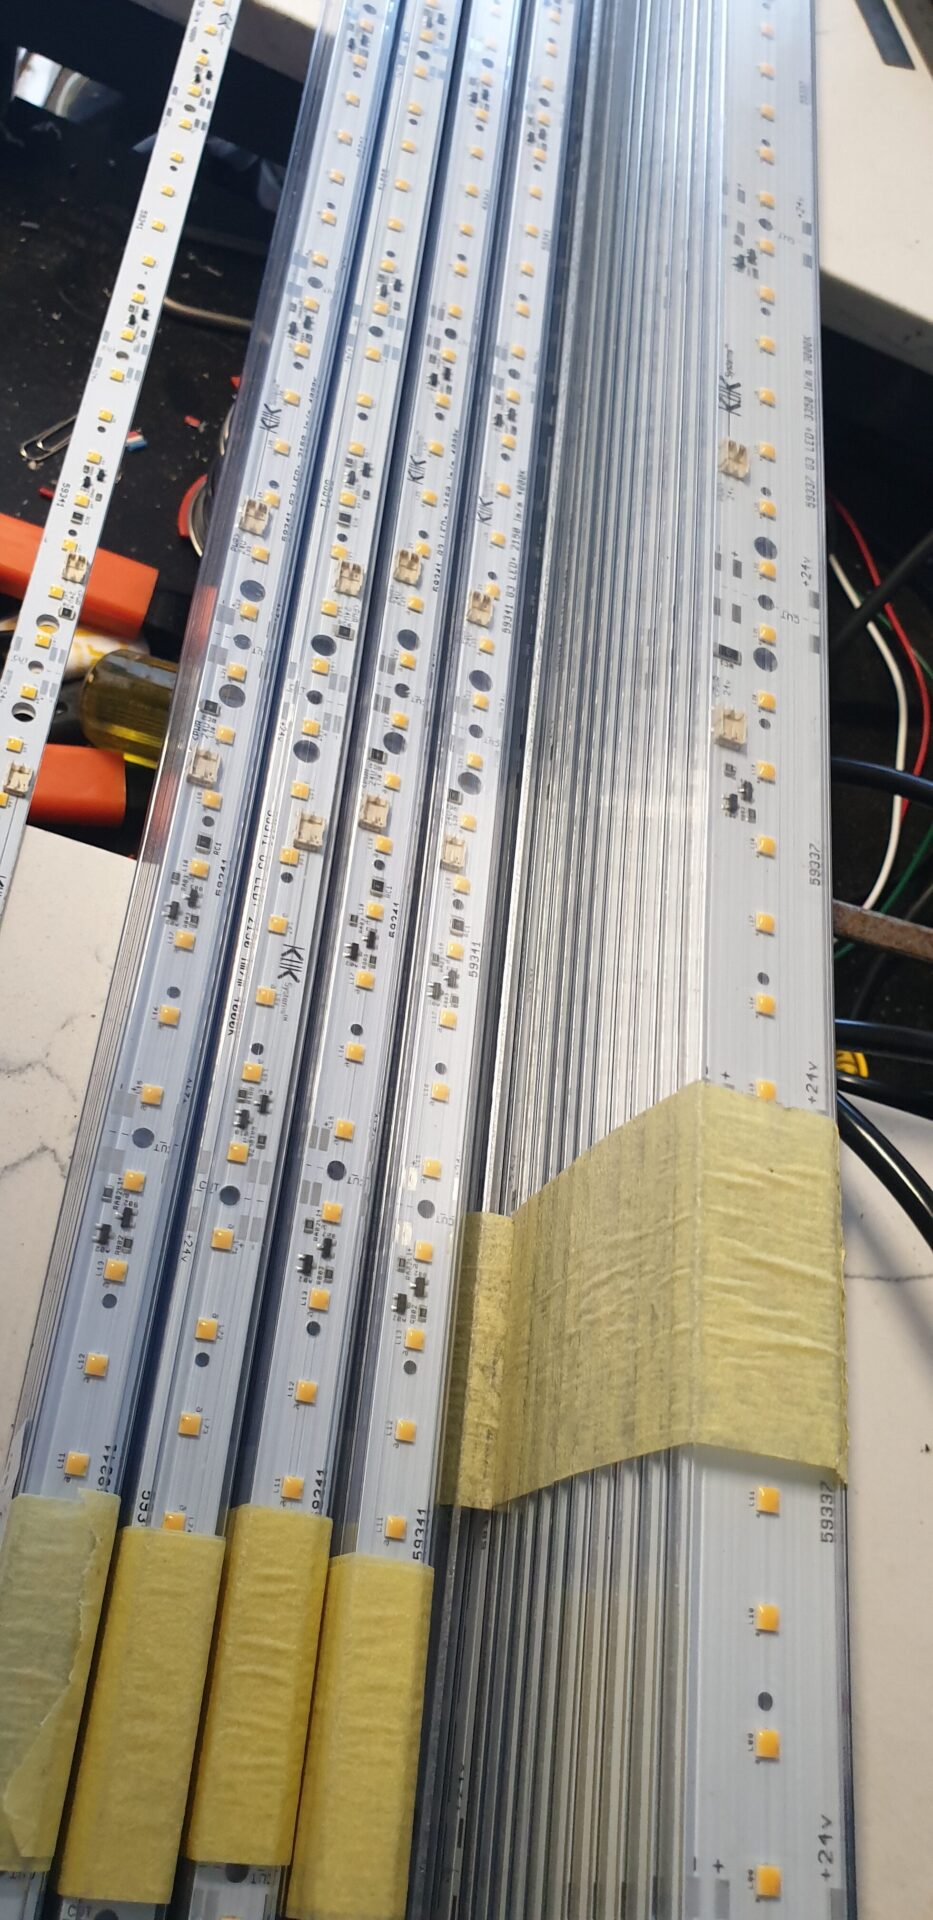
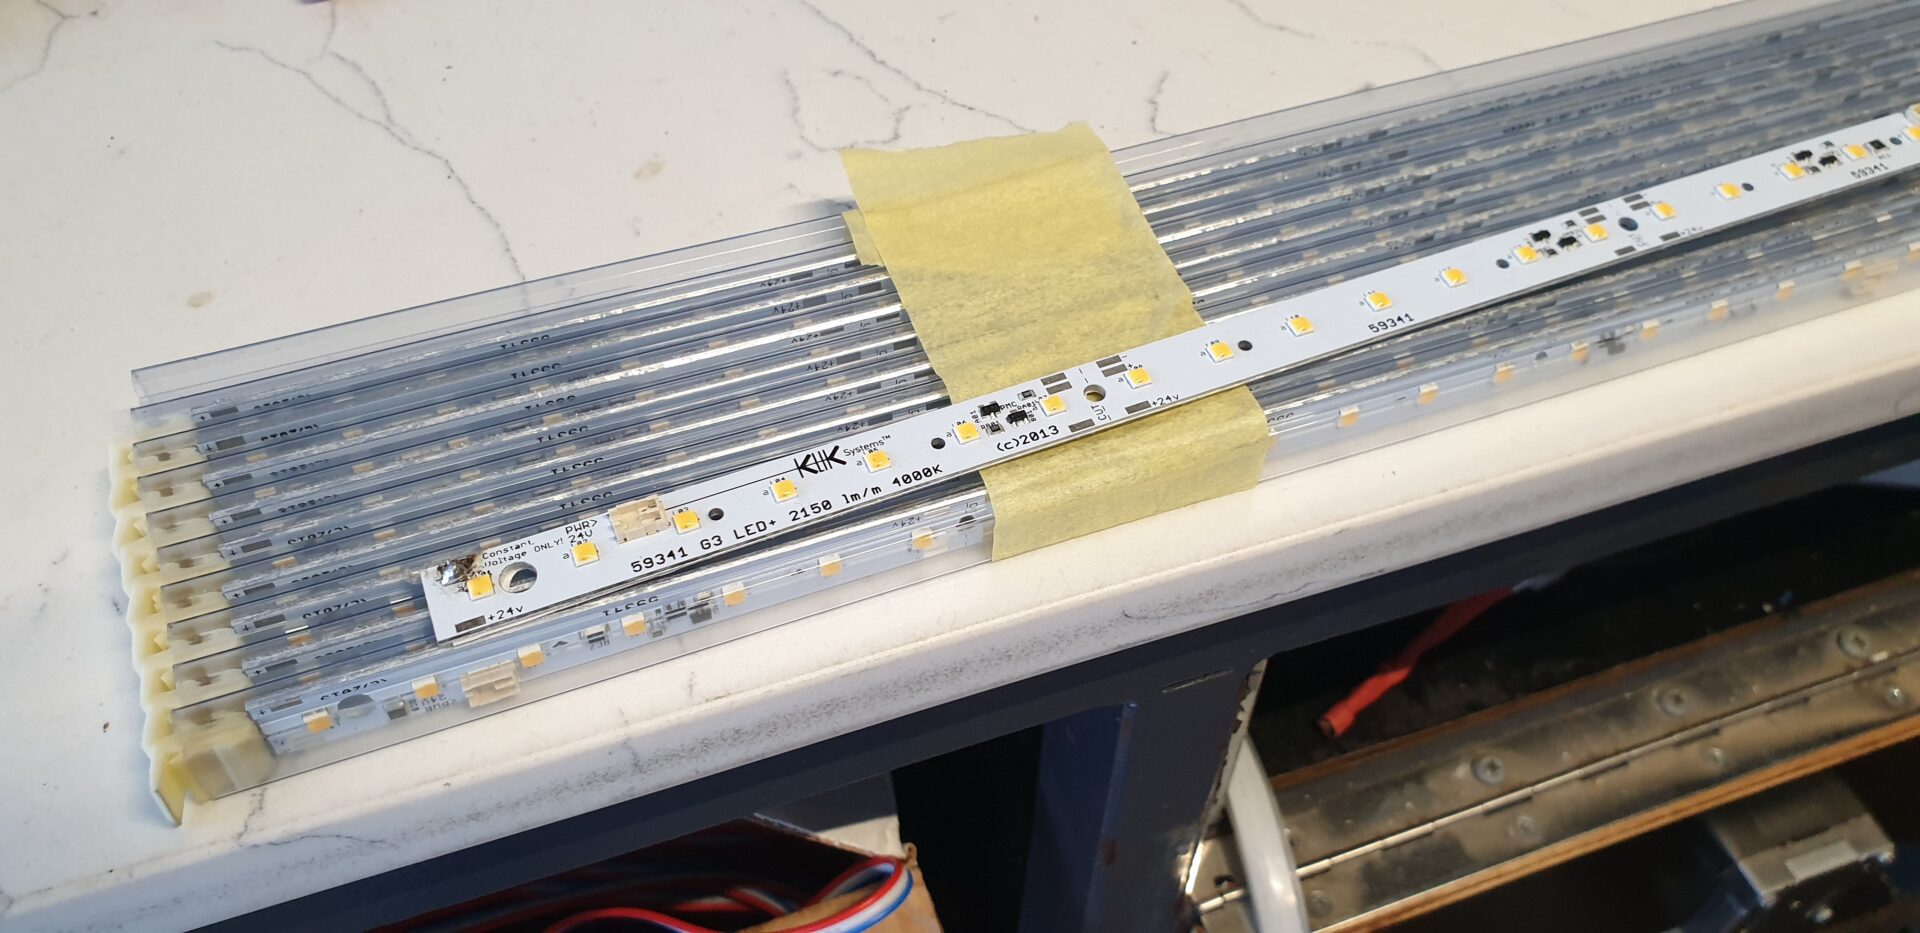
These were 1200mm long and set on aluminium strip and white only running 24v. This meant that I was only able to control them with a dmx controller that can turn them on and off, I did daisy chain them in banks of 3 lengths so I was able to turn them on in groups of 3 which helped to create a wave motion.

On the Eaves, Ridges and Fascia lines I was able to mount these strips with a total of 60 *1200mm strips.

Adding Colour:

These still remain on the roof today with the addition of Pixel leds.

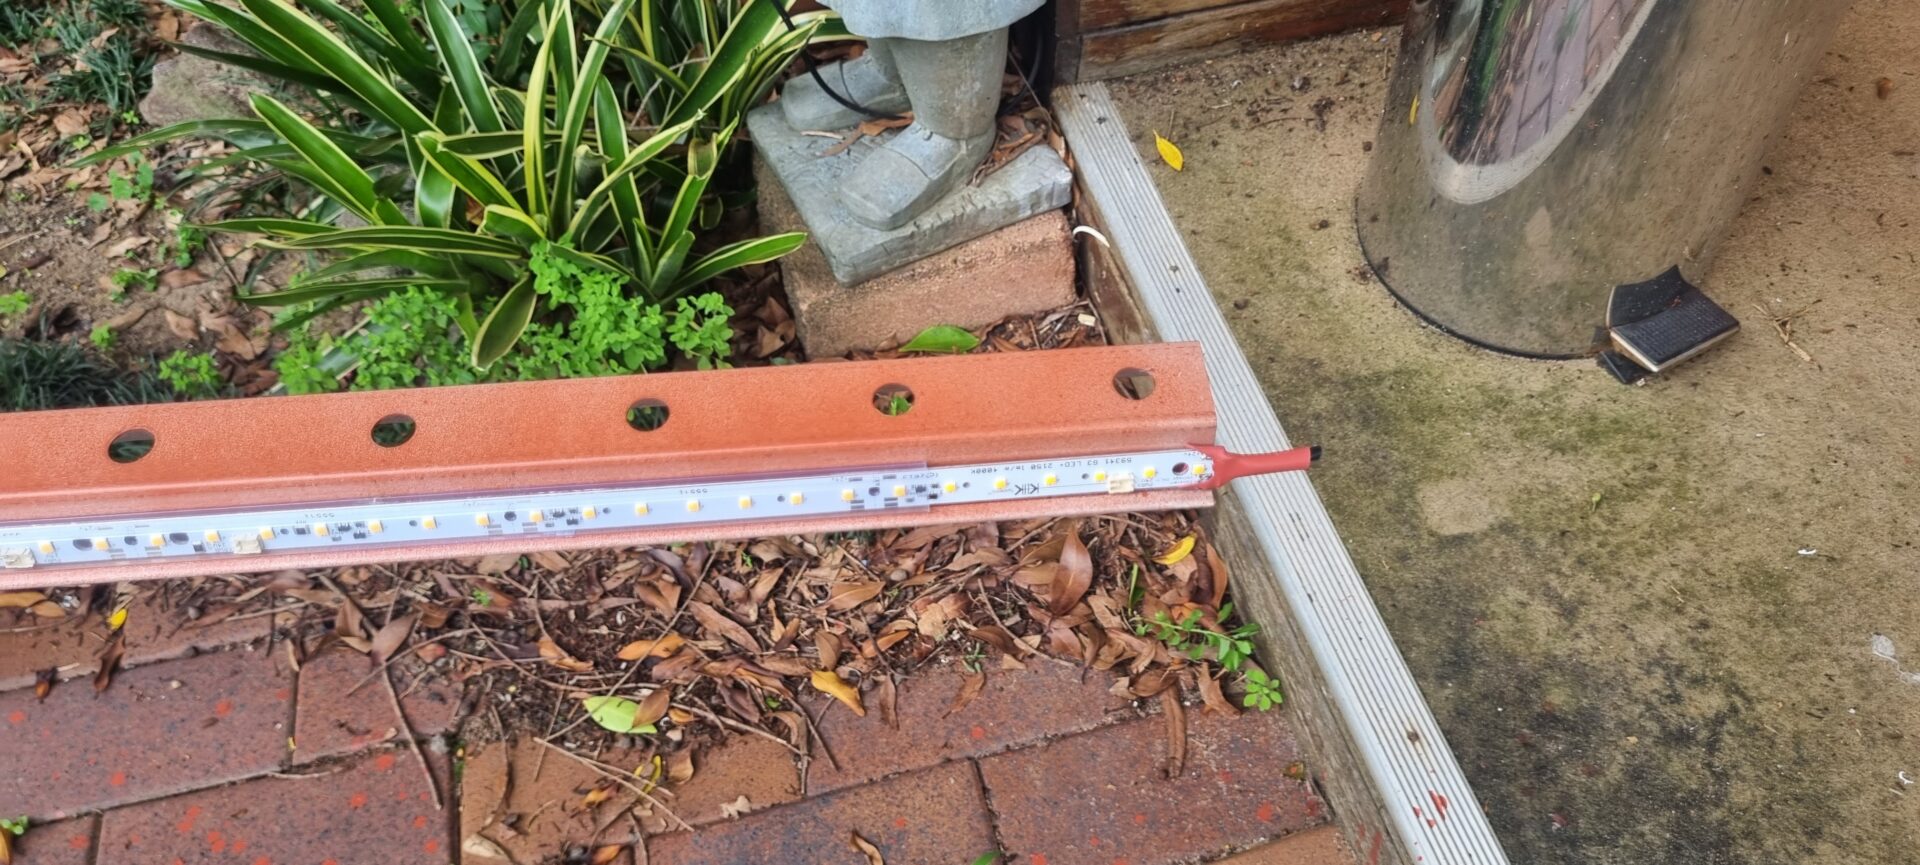
To do this I used a top hat batten drilled at 65mm ctrs and painted to match either the ridge or Hips, this was a neat improvement by being able to keep the pixels alligned.  

Concealed and Permanent:

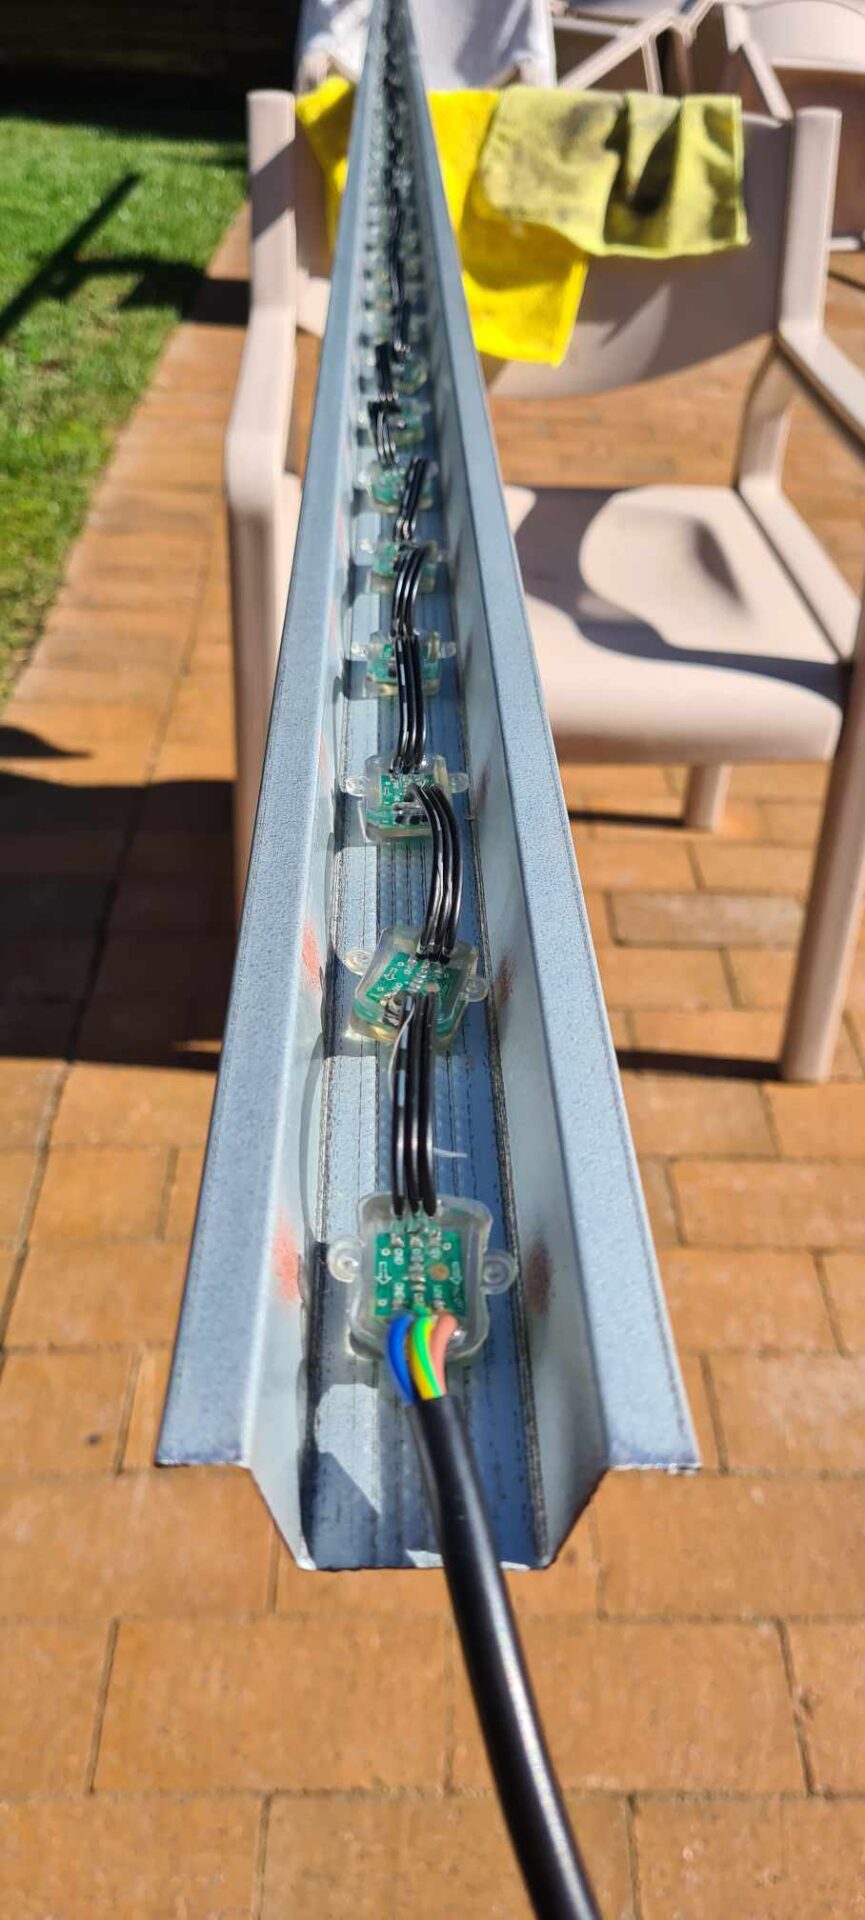
For the House eaves and across the Carport Gutters I this time used an electrical trunking channel, these also had holes drilles @ 65mm ctrs as this section is a channel I was able to hide the wiring inside of the channel as I reverse attached these channels with double sided tape and again these were able to keep the pixels in straight lines

My Spiral Trees

My Spiral Trees

The Materials:

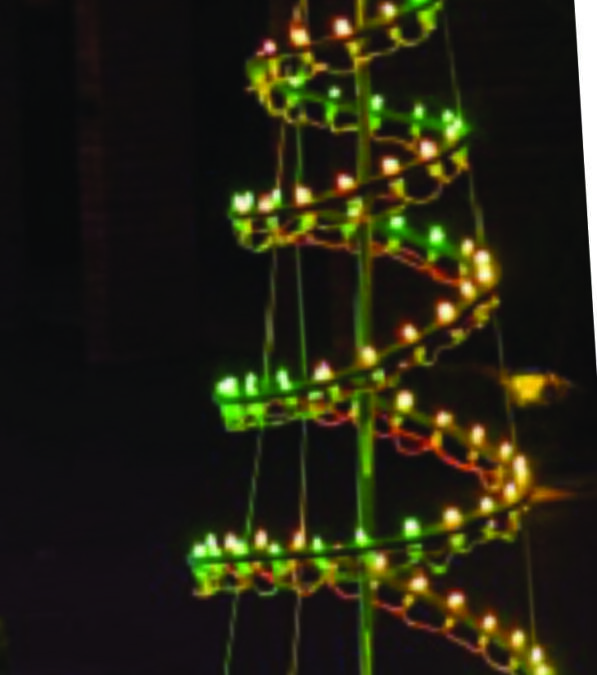
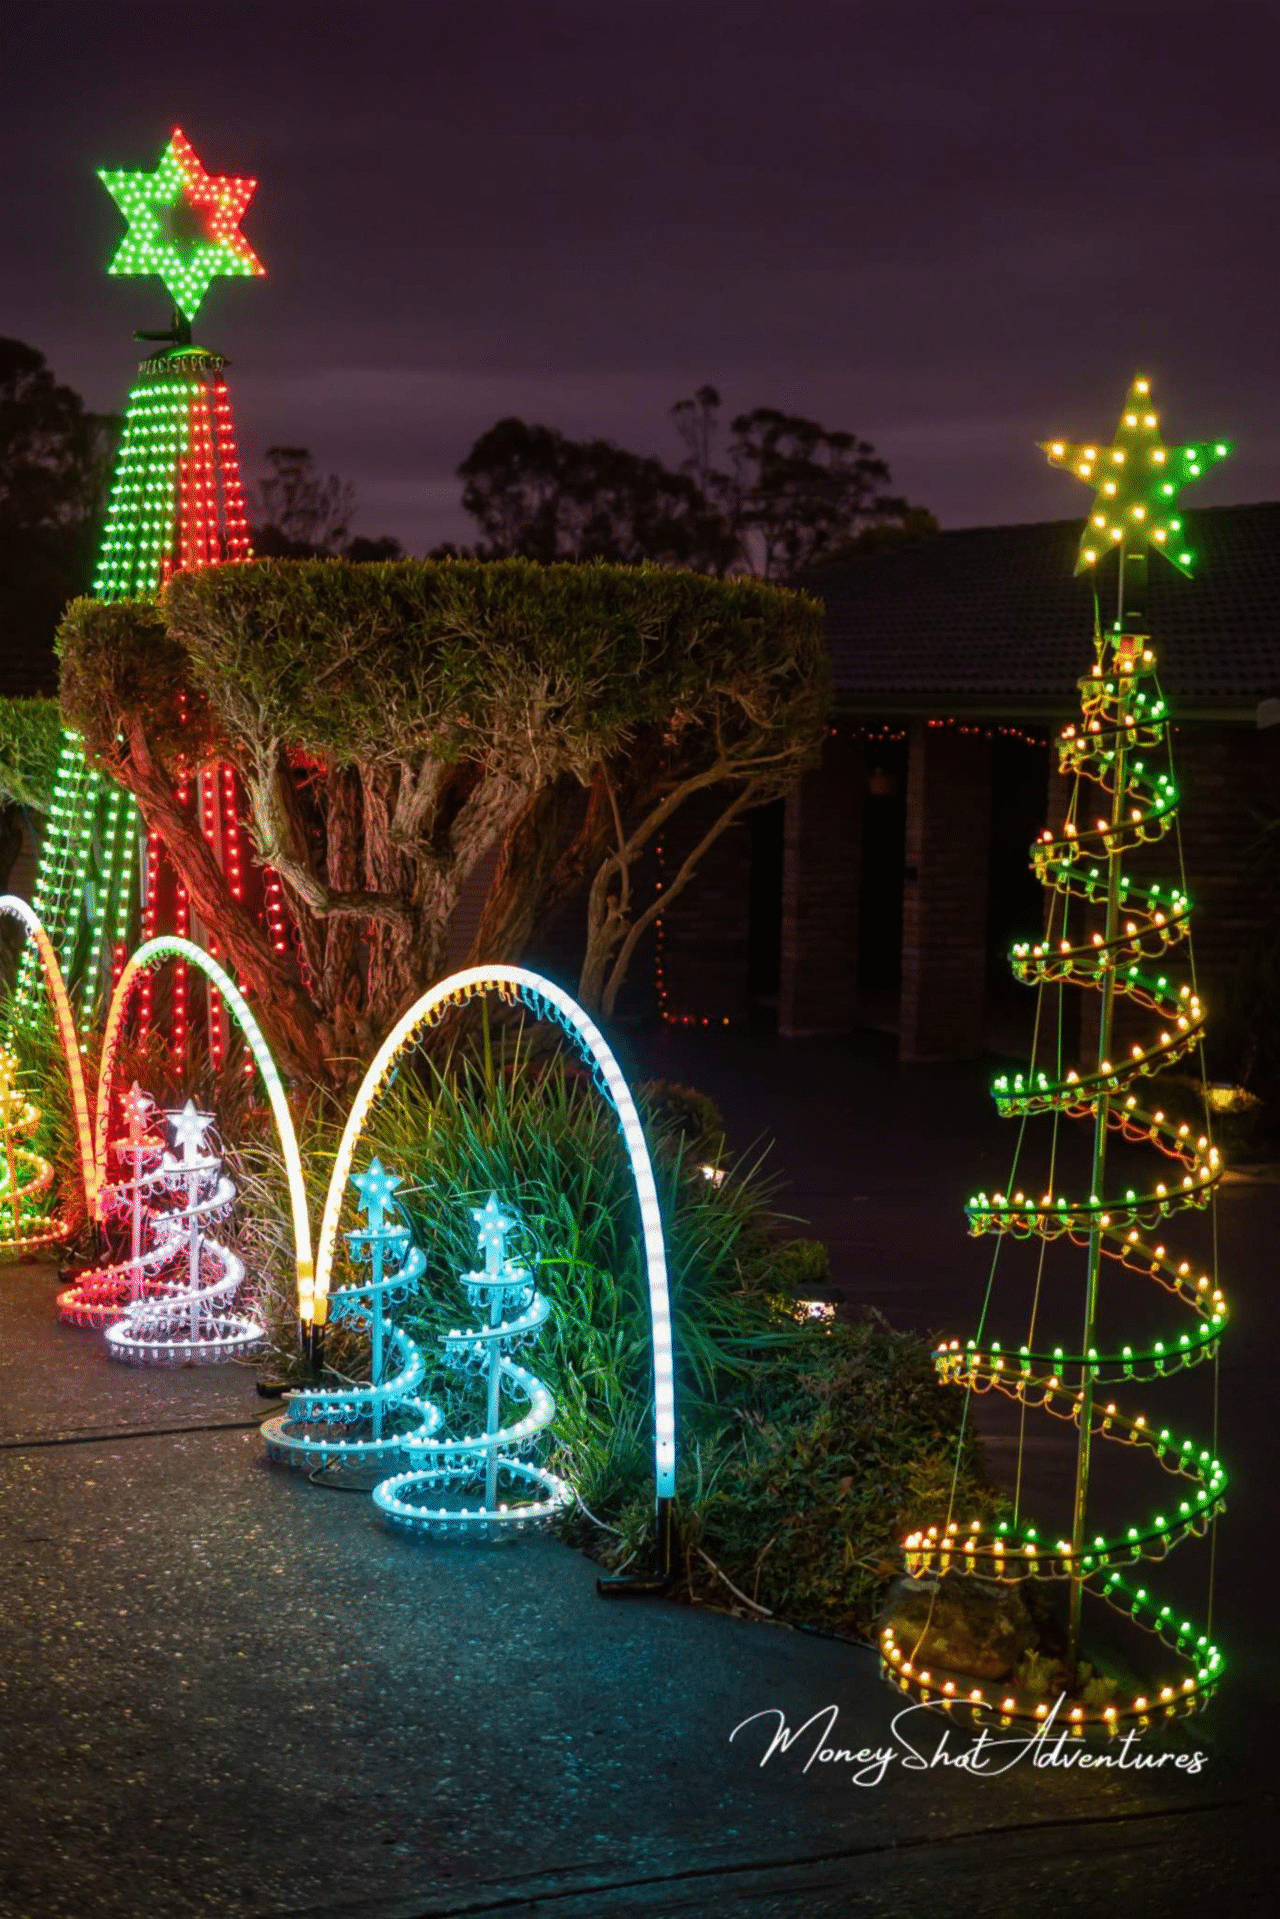
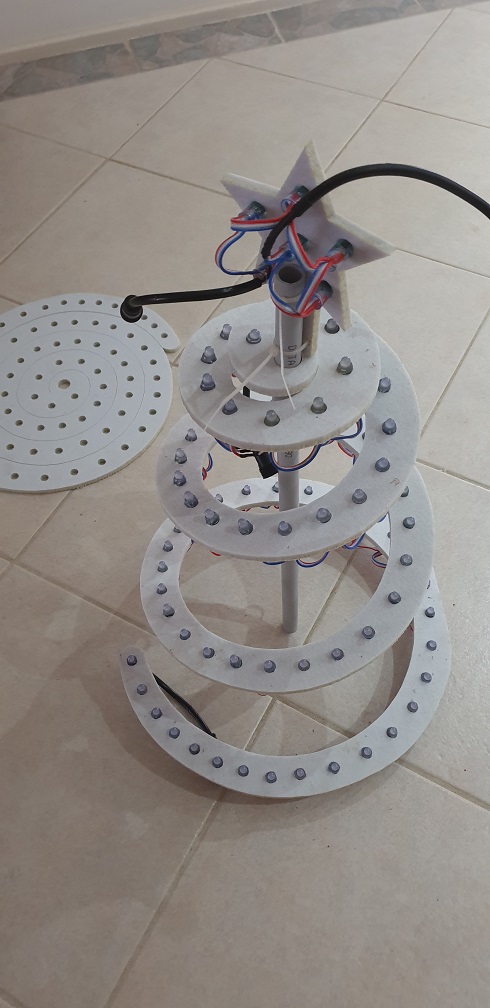
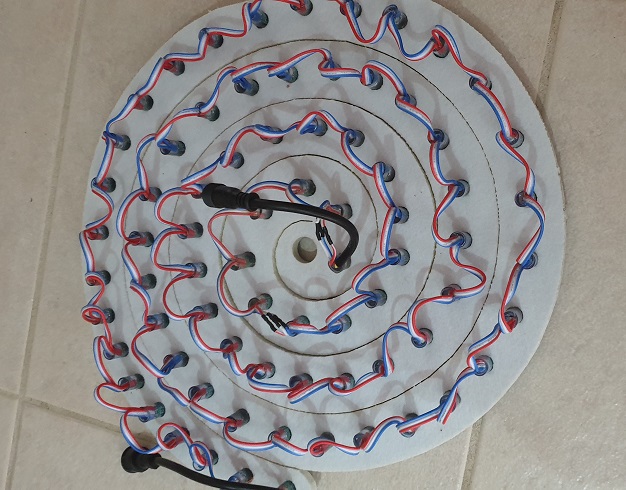
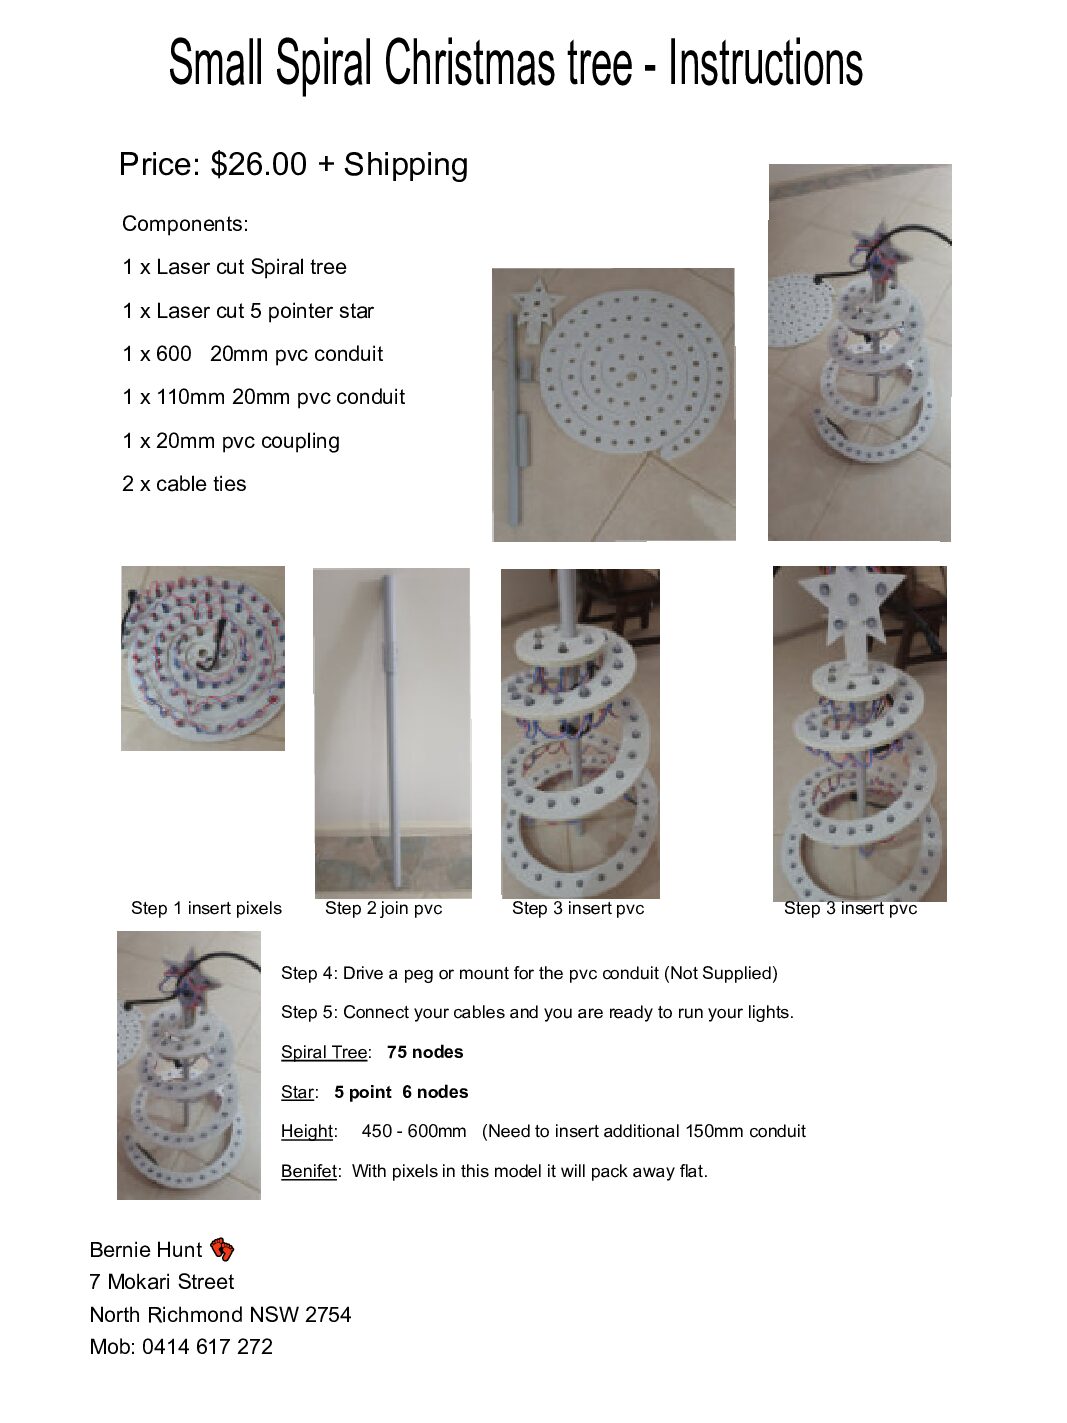
I have 2 sizes of Spiral Trees, both are Laser cut 9mm Acoustic Pinboard is made of woven polyester to absorb impacts whilst providing the practicality of a foam board making insert 12mm pixels a breeze.

The smaller is 450mm Diameter Spiral Tree stands 500mm and that holds 75 x 12mm bullet pixels and the large 600mm Diameter Spiral Tree that stands 1.8m tall and holds 166 x 12mm bullet pixels.

Storage:

The one thing that makes great is that when packing away at the end of the season they stack flat, so they don’t take up much space and that I do sell these, this makes it better for shipping.


How I Built My Megatree

How I Built My Megatree

The Megatree is made up in four sections

The Topper:

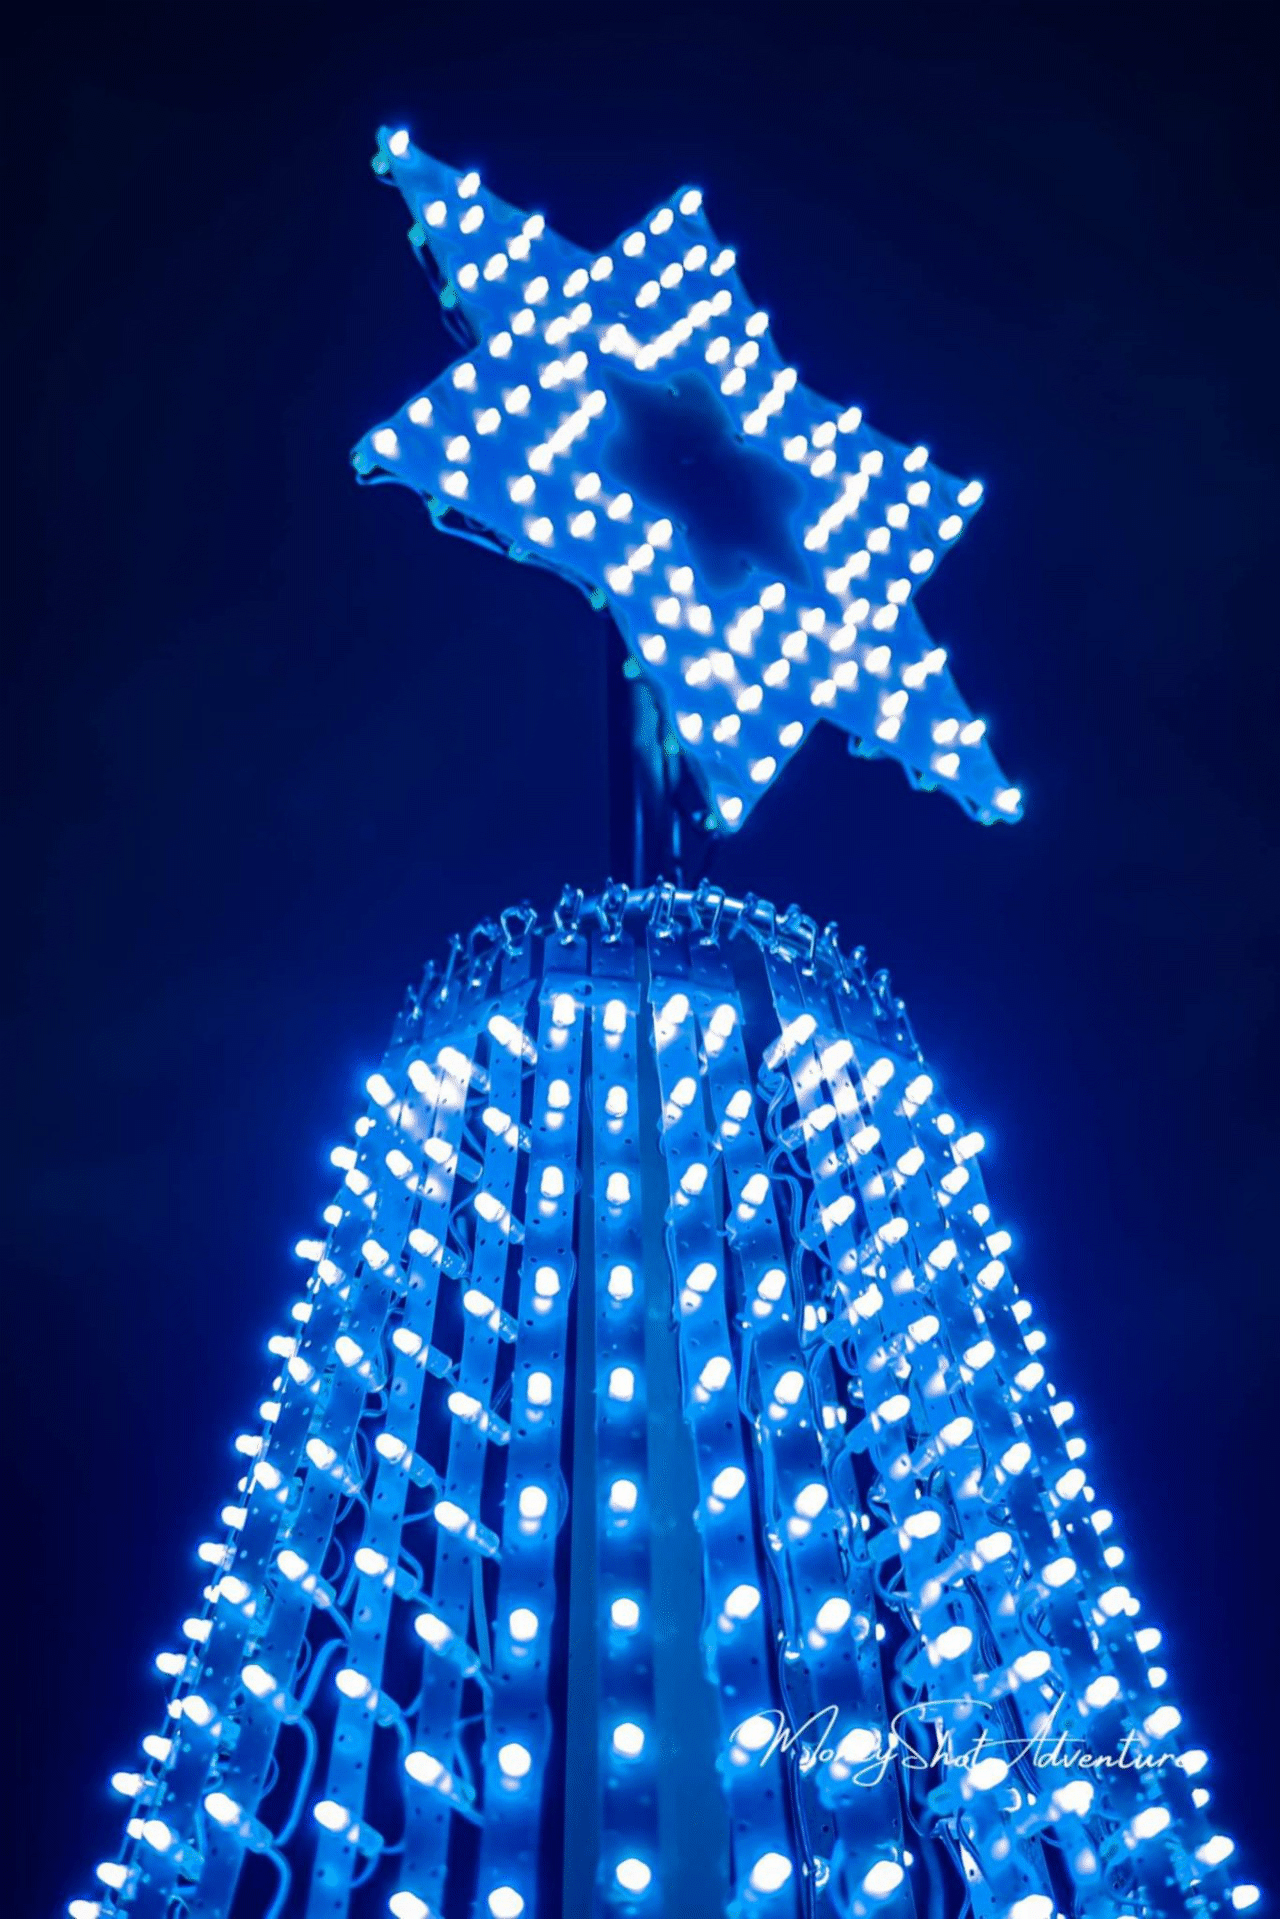
This was constructed from a used 9kg gas cylinder,nuts were welded around the perimeter in which hooks were screwed into for carrying the strands.

A piece of 65mm galvanised tube was welded on the top and underside of the topper. the top was for mounting the megastar and the under piece was for sliding down into a 70×70 aluminium post. this slides over another 50mm square galvanised post 90mm high and concreted into the ground.

The Base and Topper

The Base:

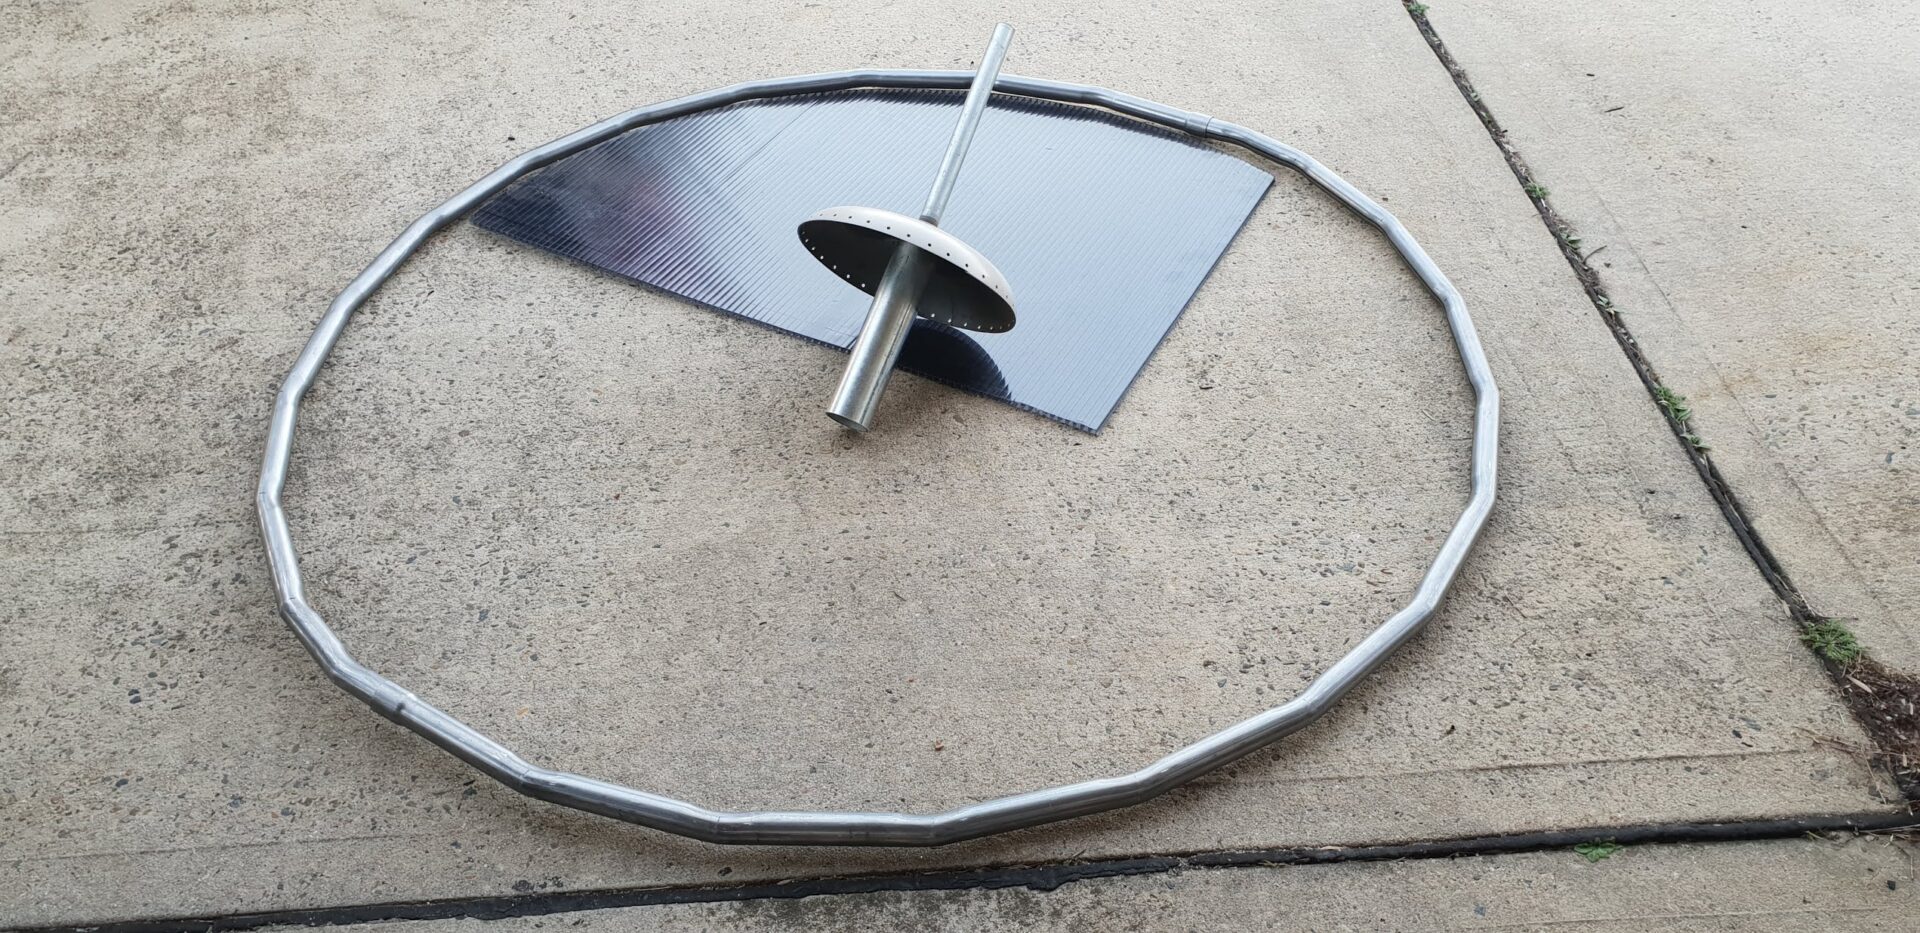
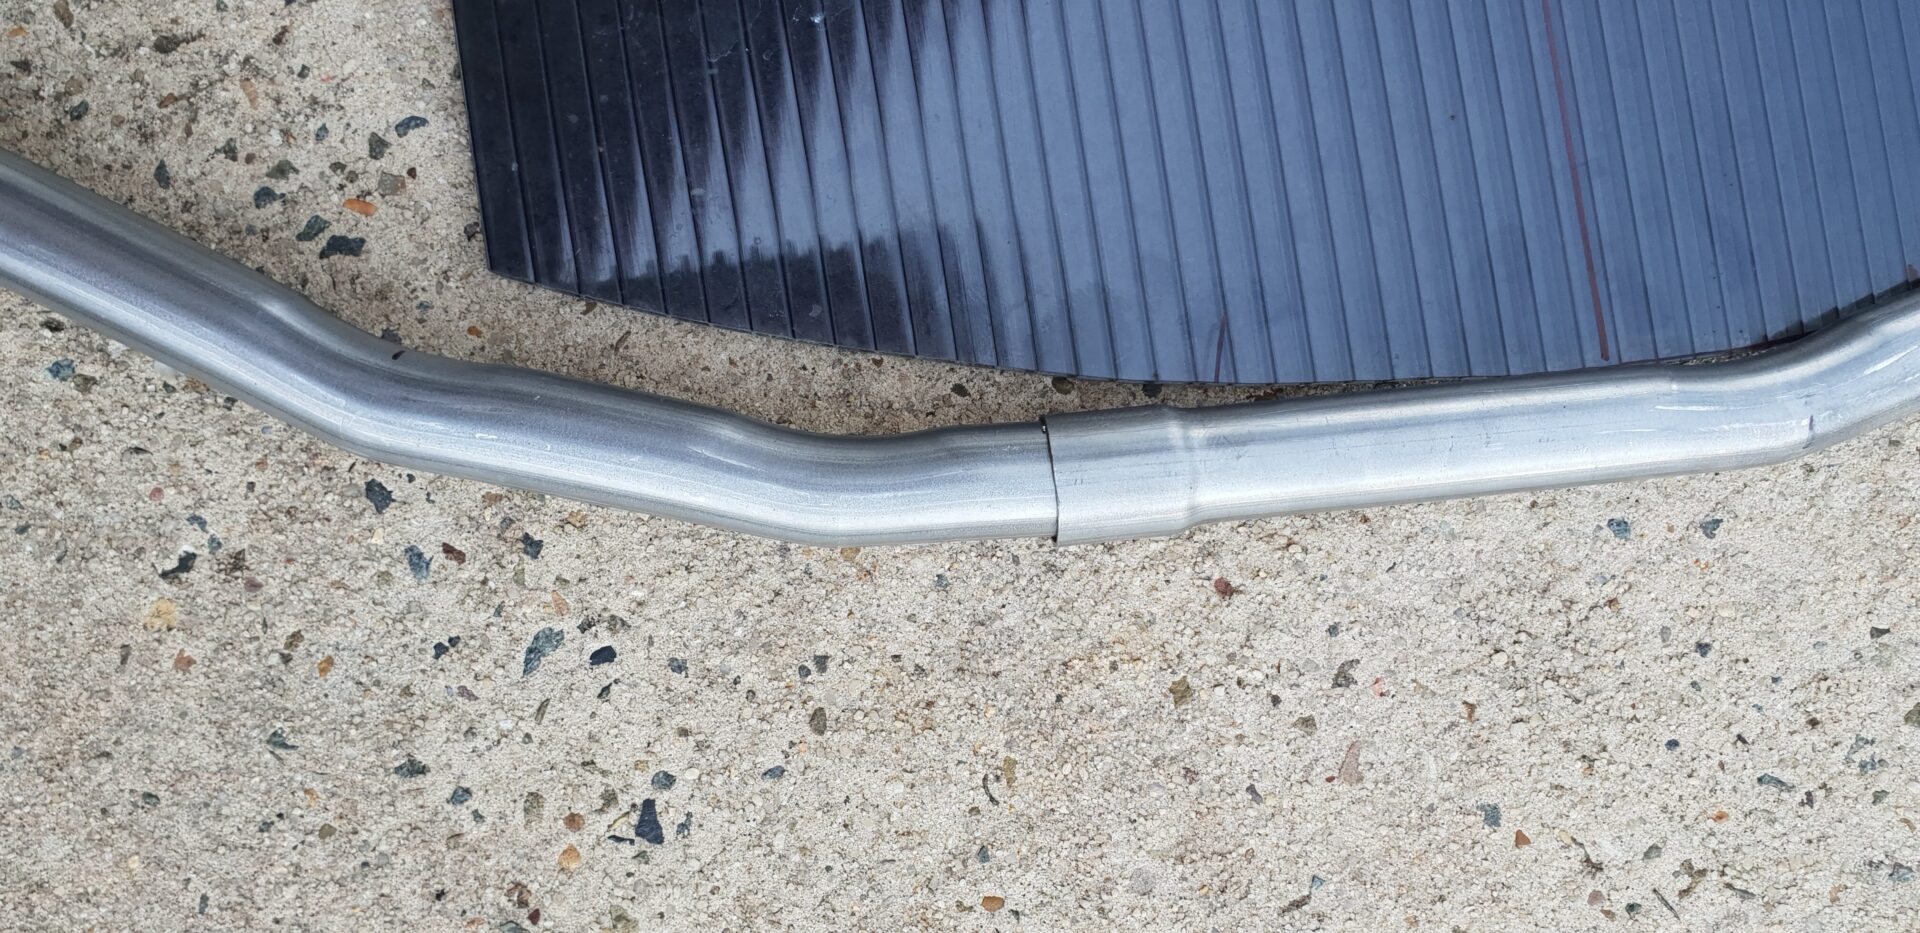
The base was manufactured from 30mm OD exhaust tube that I had organised with our local exhaust center. They made the base from 2 pieces that were swagged on the ends to allow the 2 halves to be joined together after they were bent to a radius from a template that I provided.

💡 Idea: replace this with your tip.
Base tube bent

The Strands:

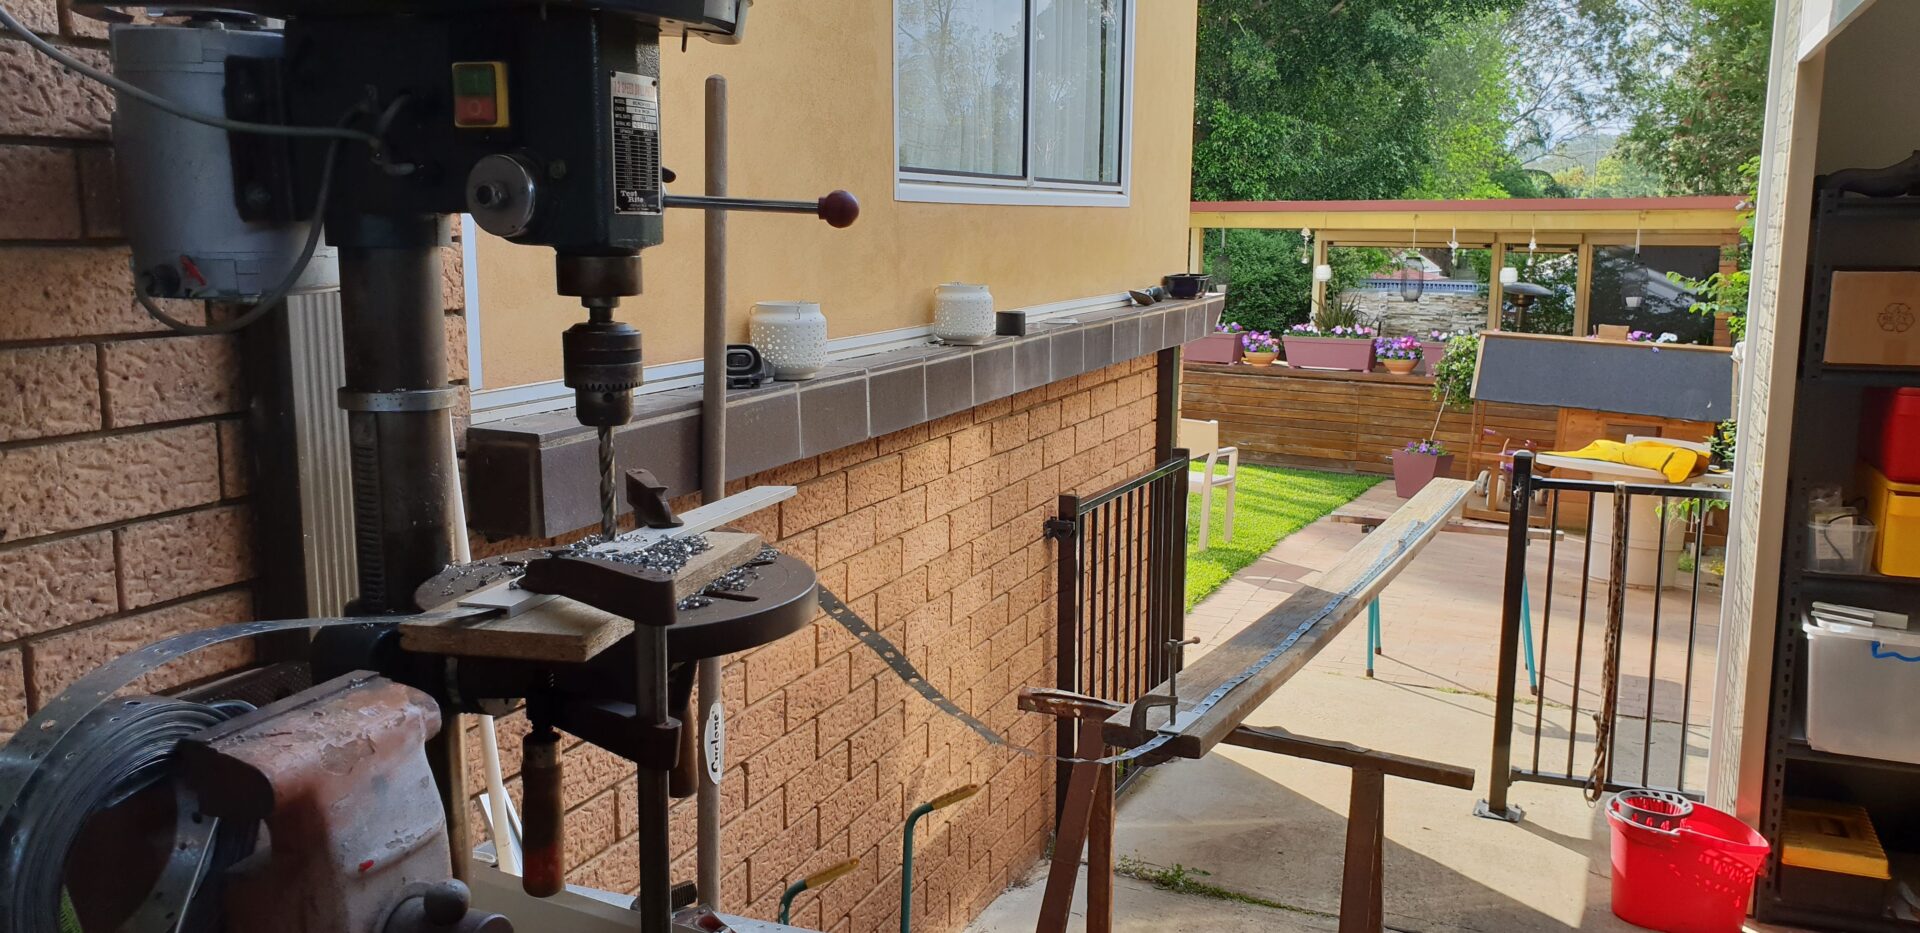
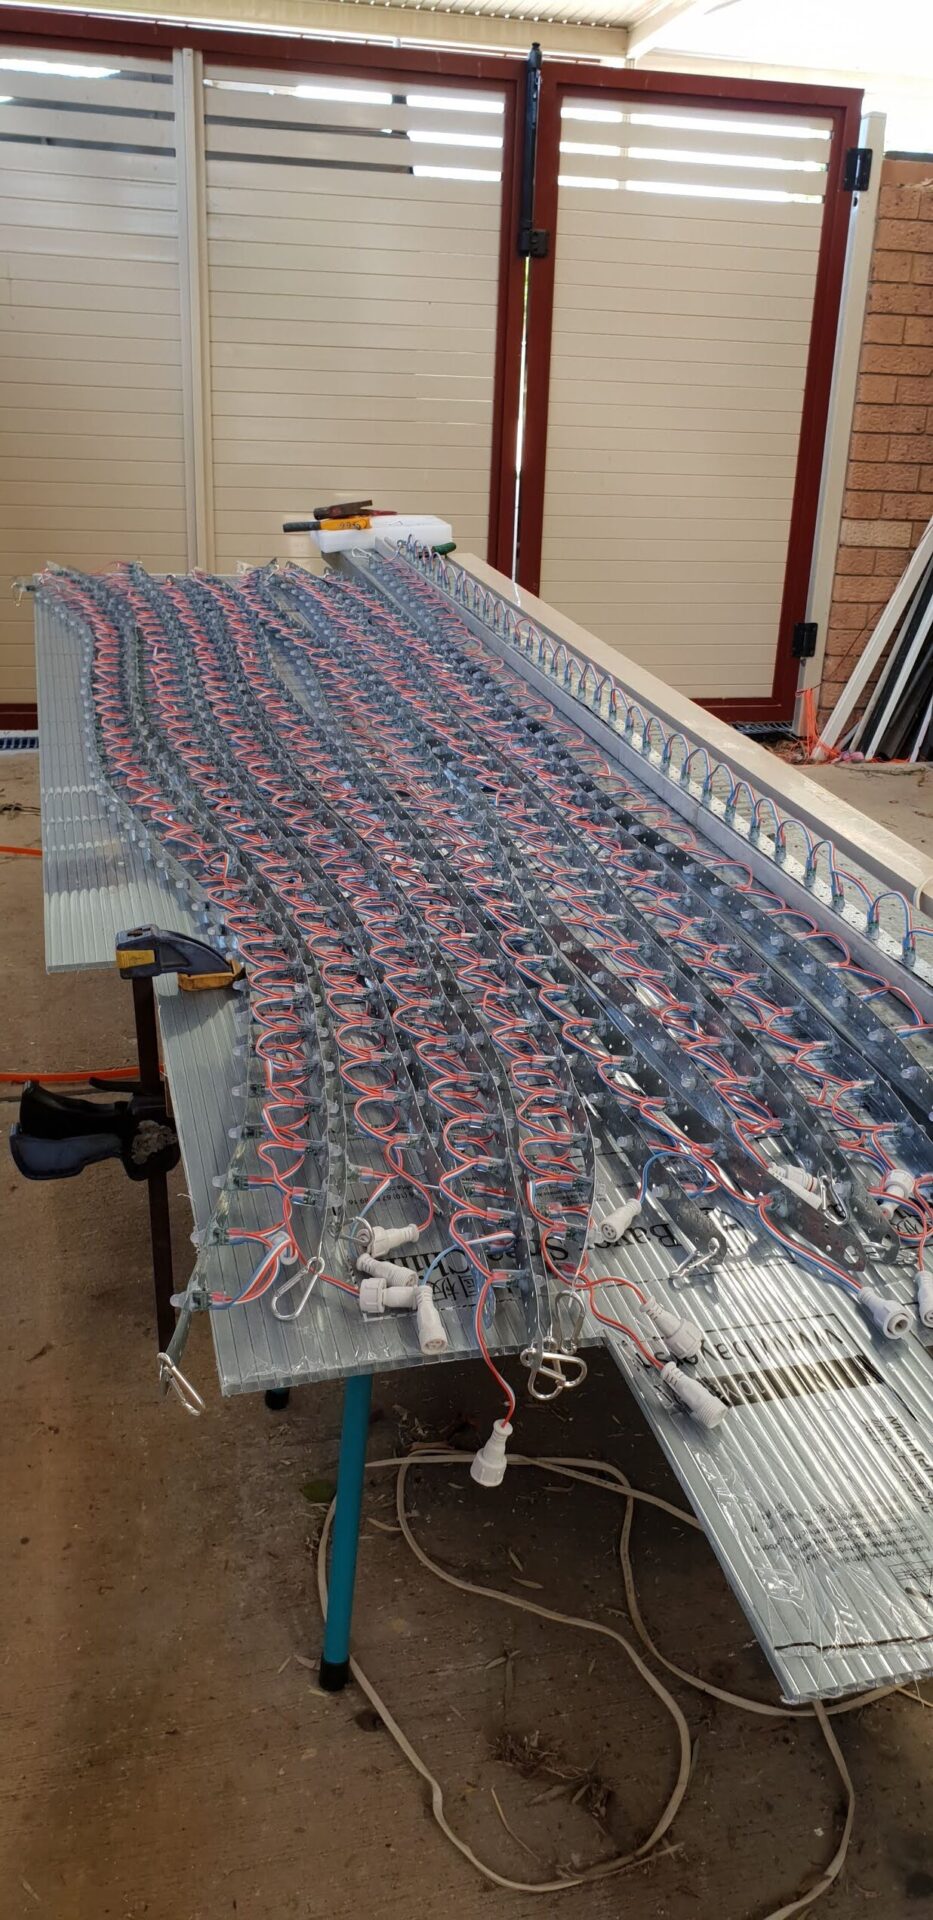
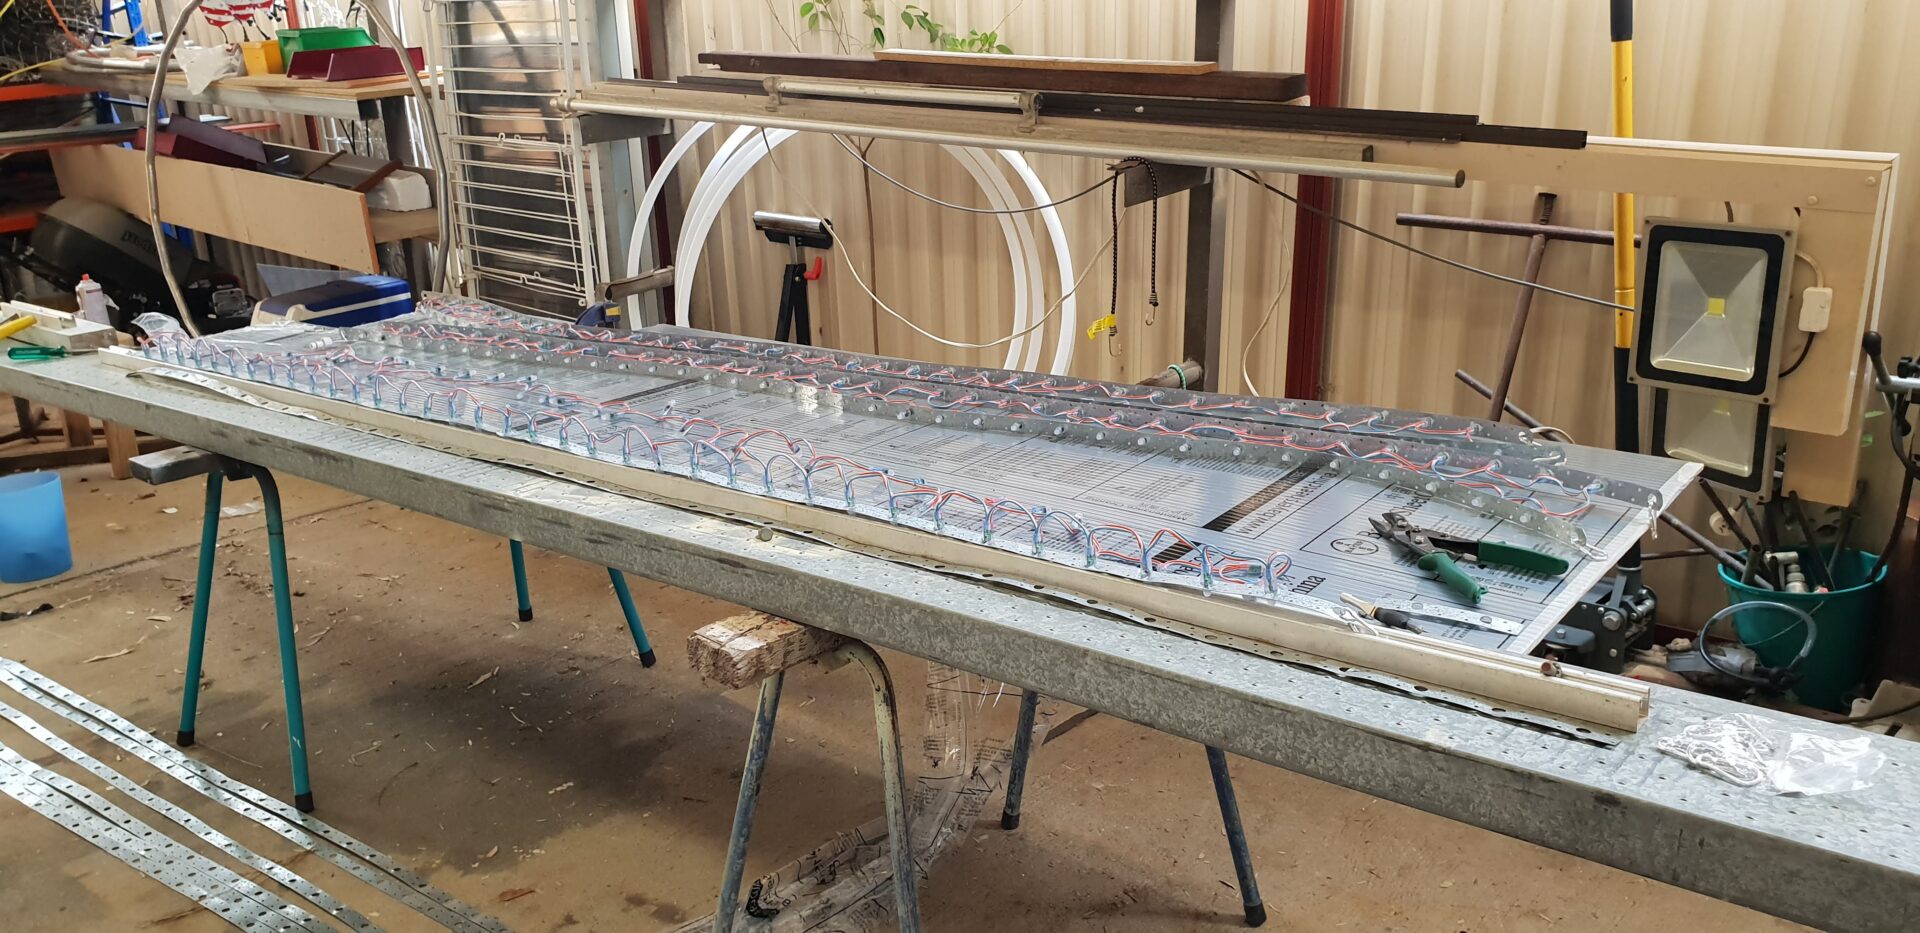
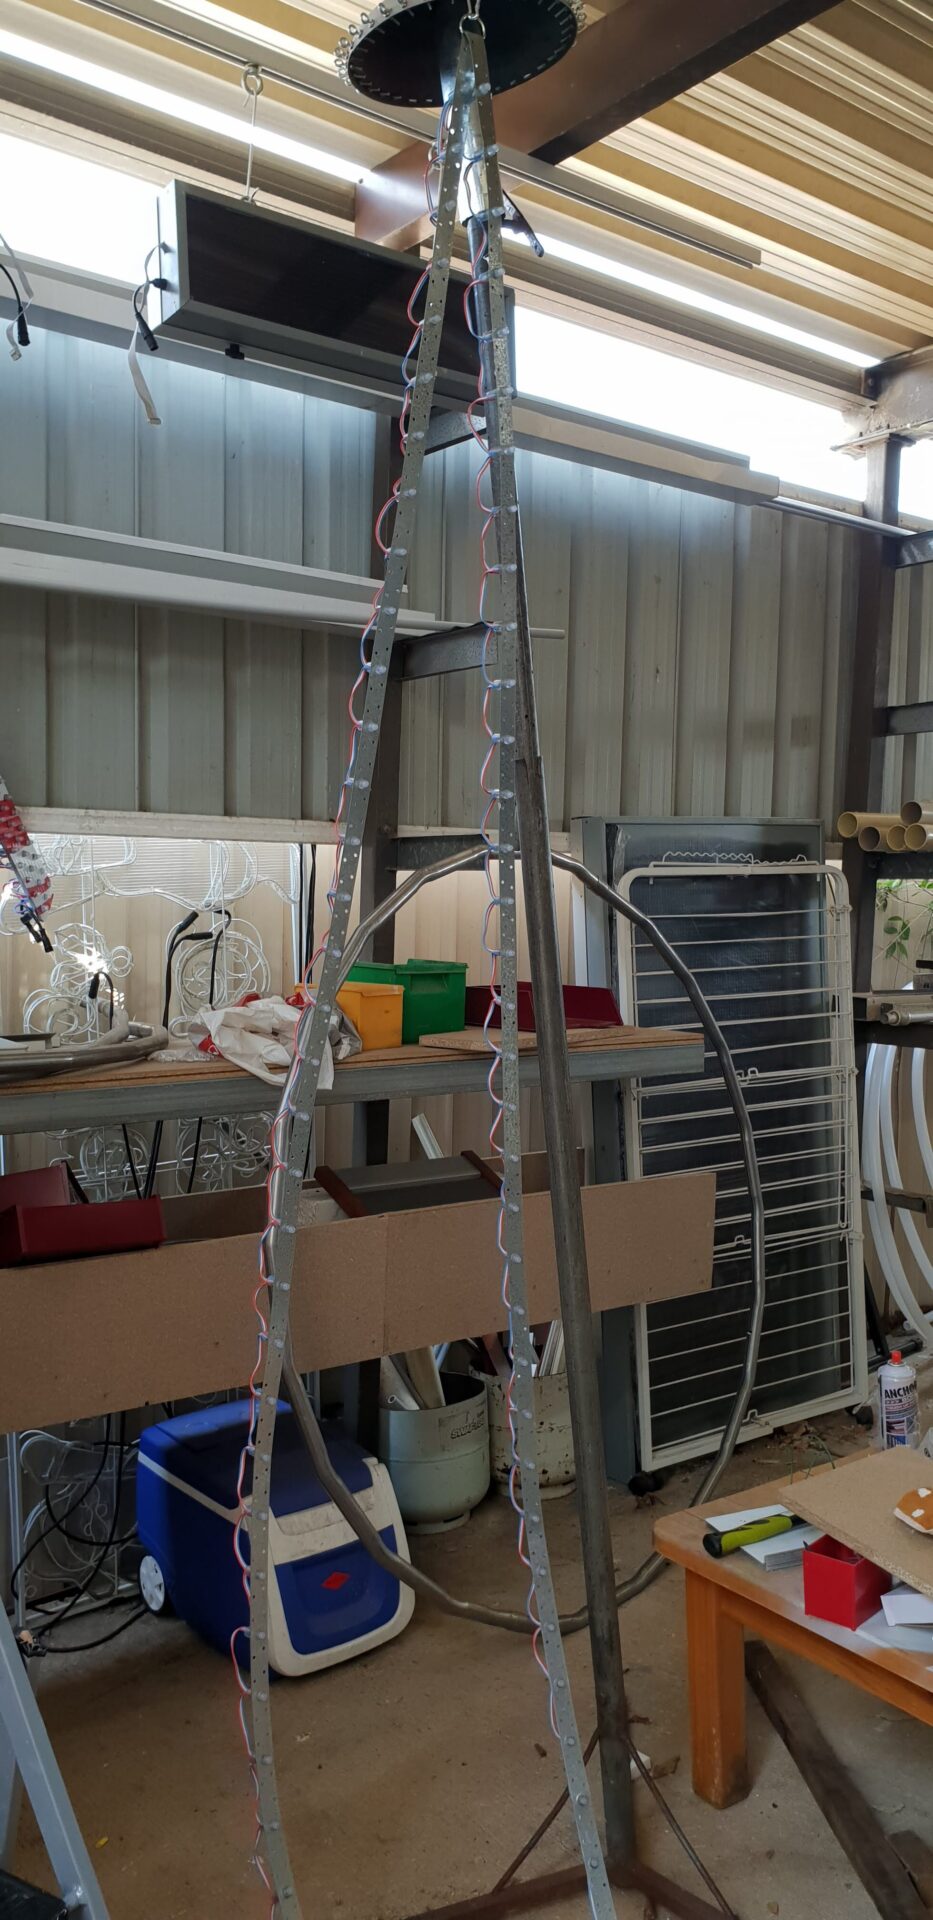
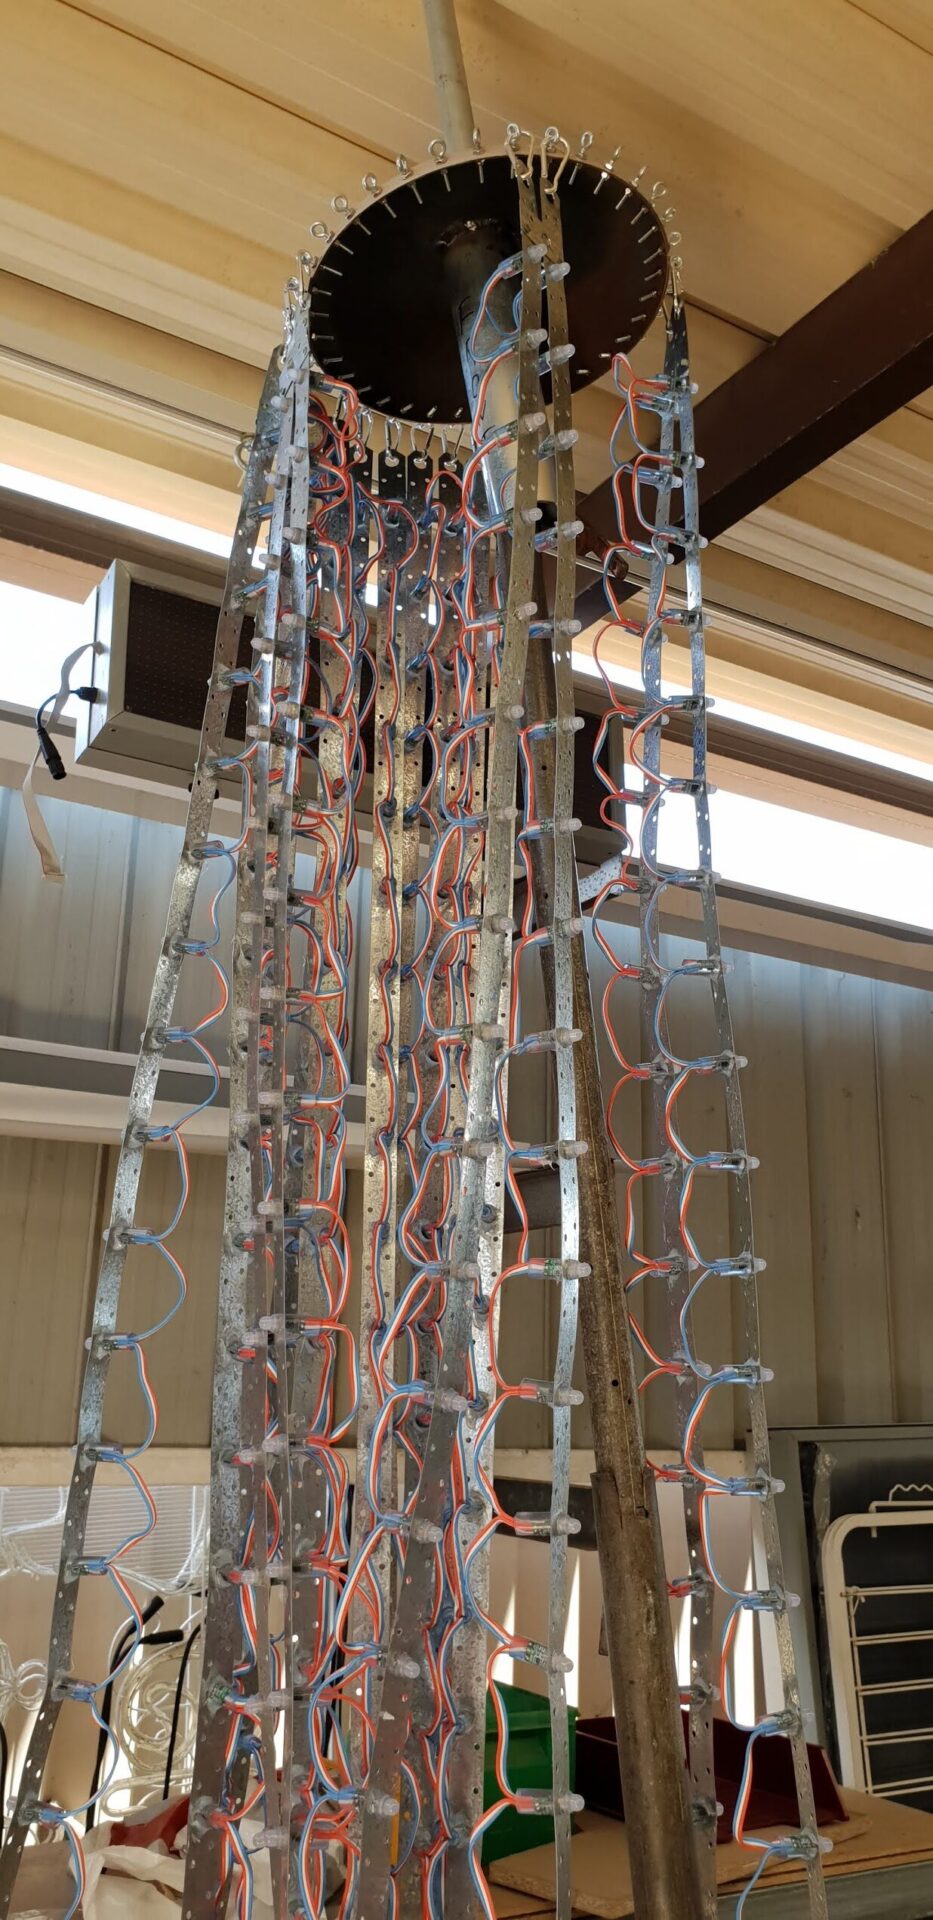
For the strands I used construction strapping from Bunnings and opened out the holes to 12mm. That gave me 70mm centers so each length had provision for 36 pixels so that gave me a strand of 72 pixels starting from the bottom and finishing on the bottom in between each strand of 72 pixels I placed a Y piece for power injection.

Connecting to Topper

Power and Control:

Mounted to the post to a control box that has 3 x 33amp 12V power supplies and 2 x differential receivers to control other props nearby.

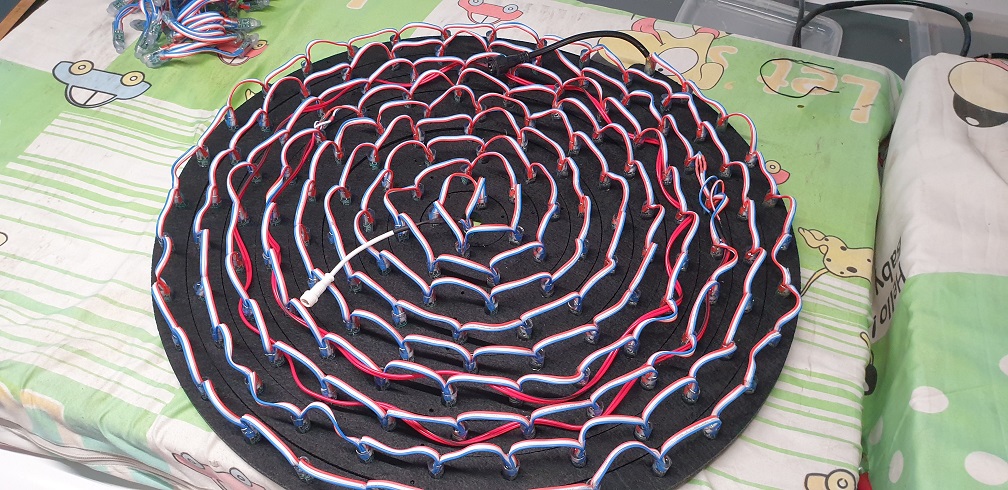
At the time of building my megatree I did build two megatrees and as I decided to change the radius of the trees, I did end up with around 20 strands left over from which I made a temporary Roof Matrix. It stayed permanently on my roof for the next 7 years.

Useful Links for Building a Christmas Light Show

A handful of tools, calculators and communities that come in handy when planning, building and running an animated Christmas light show.

xLights — The Software

The free, open-source sequencing software used to design, build and run animated light shows — from laying out props to syncing effects to music.

RGB Pixel Light Power Calculator

A free calculator for working out voltage drop and power injection points, so pixel strings stay bright and consistent from end to end.

xLights Custom Model Builder

A web tool for tracing a photo of a prop to generate a matching custom model file for xLights, so pixel mapping lines up with the real thing.

Hanson Electronics

An Australian manufacturer of pixel controllers and DC lighting hardware for Christmas displays — handy for local parts and support.

AusChristmasLighting

An Australian community forum for animated Christmas lighting enthusiasts, sharing displays, controller advice and sequencing know-how.